Camera Setup
Learn how to connect, start, set up, and adjust the camera.
- Video Guide to Camera Setup
- Camera Parts and Assembly
- Connecting to LATRAS Hub
- Selecting the Detection Area in LATRAS Hub
- Selecting the Detection Area in Range1
- Laser Detection Activation
Video Guide to Camera Setup
Video Guide is availabe at Helion Interactive YouTube channel, follow this link:
https://www.youtube.com/watch?v=4PJ1UsyNxTY&list=PLGuX0uwHwNgMeQRzjlxDWg-ZhjRqbLoyW
Camera Parts and Assembly
The supplied camera kit includes a camera with a lens already installed and mounted on a camera holder.
Mount the camera holder on the tripod.
Here is how your setup should look like when complete (the optical flter may have differently shaped ring):
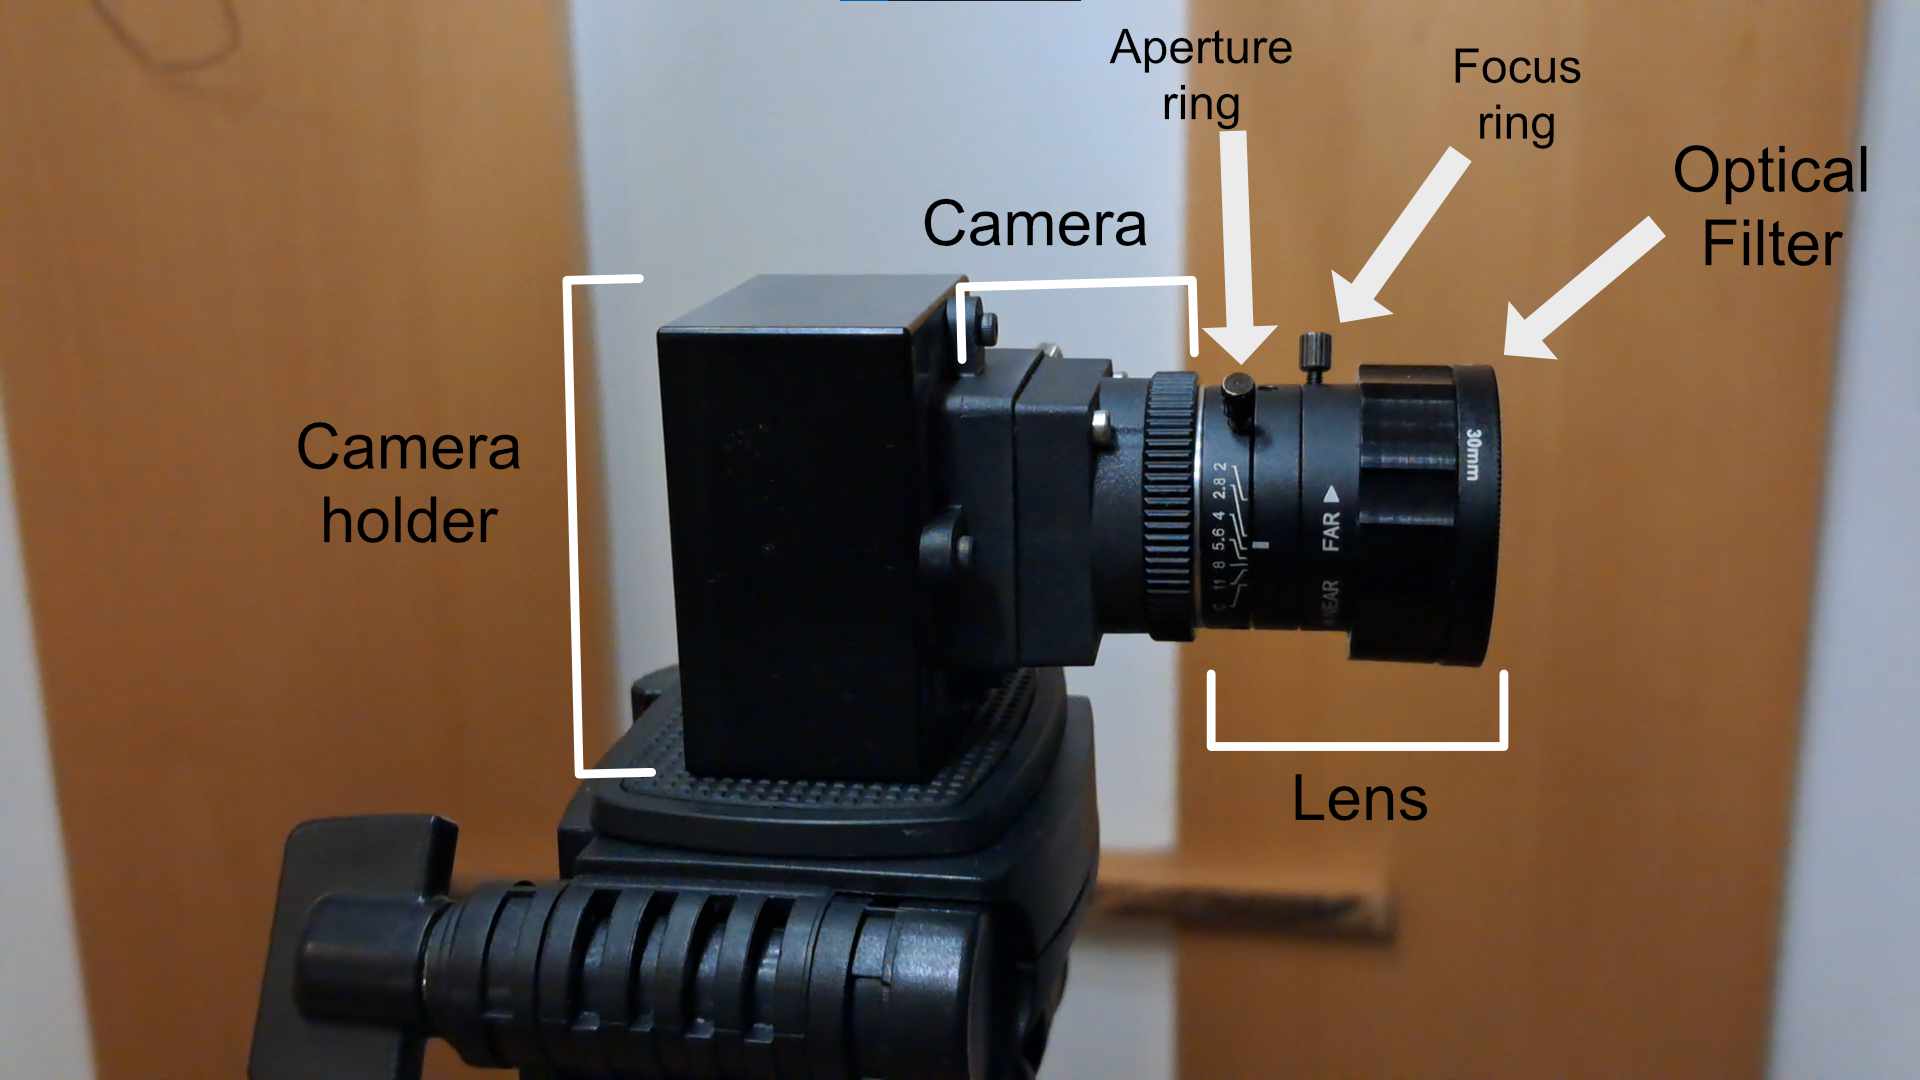
For initial setup, remove the optical filter. It will be easier to allign the camera correctly without it.
Adjust the camera position so it points towards your projection area.
The camera has two ajustment rings -
Focus ring - Manually adjusts the lens elements to change the plane of focus. Turning the ring moves internal lens glass to bring a subject into sharp focus.
Aperture ring - The aperture ring is a collar on the lens that can be rotated to increase or decrease the opening of the aperture petals. These opening settings are marked on the aperture ring as "f-stop" values. The smaller the f-stop value, the larger the opening and the more light reaching the camera's detector.
We recommend not to change the setting of your aperture ring configuration unless troubleshooting.
Connecting to LATRAS Hub
Establishing Connection
Connect the camera to your computer / notebook, ideally using the Basler connector cable. Non branded cables will work too, but with speed limitations.
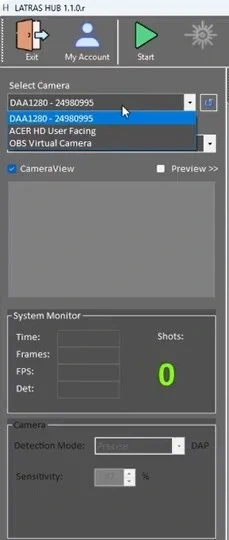
Start LATRAS Hub. In the upper left corner, check the Select camera scroll and look for camera starting DAA or D2A. Select this camera.
If the camera doesn't apear within the selection, click the small refresh button next to the scroll. If it still doesn't appear, check both cable connections - camera/cable/computer, or try restarting the LATRAS Hub.
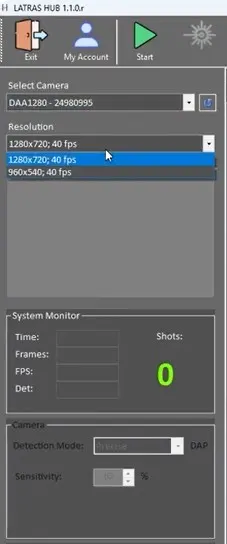
Follow with resolution selection. te best is to select camer's native resolution 1280x720 in order to get the highest number of pixels..
| Select Camera | Select Resolution |
|
|
|
|
|
Once the camera and resolution are selected, click the green Start button and the live camera fed will appear. To stop it, hit the square red Stop button (it turns red whenever the camera is running).
|
|
|
Camera feed will appear in the CameraView window just below the Resolution selection. |
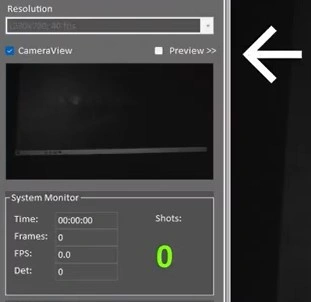 |
Should you want to see the feed in the main window, check the Preview box prior to hitting the Start button.
When the camera is on, the preview will not appear instantly after checking the box. Stop the camera and Start it again. Now, the feed will appear in the main window. |
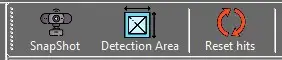 |
SnapShot button will make an instant photo of the camera feed and captures the current camera's view. To return to live feed, hit Stop and then Start button. |
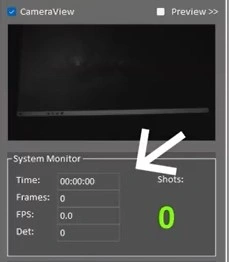 |
System Monitor updates every 10 seconds and keeps an eye on the important system functions and is especially useful for troubleshooting. Time FPS: Frames per second - indicates how many frames is the camera capturing per second. Det.: Displays the average time it takes the camera to caputure the laser detection.
If either of these parameters turn red, there may be a performance issue preventing the simulator in working correctly.
See next setting for hint. |
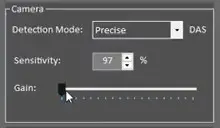 |
Additional camera settings: Detection mode - Precise, Very Good, Good - Allows to lower the requirements on your computer system in one simple step. If everythig runs smoothly, leave "Precise" detection mode. Should you be getting red numbers in the System monitor while running, try resetting to to Very Good, if problems persist, try Good.
The Sensitivity factor at 97% is optimal for the range function. Do not change it, unless troubleshooting.
Gain is an important value - it that amplifies the signal from the image sensor, making the image appear brighter. Drag it to the right for a brighter image or to the left for dimmer.
Adjusting the Gain may help with "false" shots. When you get false shots (shot sounds and records that were not fired), it may mean that some light disturbance messes with the camera intake. Lowering the Gain is the first thing to do to fix that (besides checking the actual light conditions in the room - direct ray of sunlight in the projection area is undesirable). Our cameras are able to function correctly even in very harsh light conditions when correctly adjusted.
|
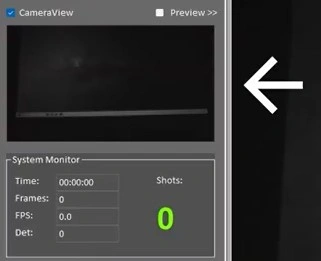
Selecting the Detection Area in LATRAS Hub
Position the camera so that all corners of the projection are visible in the LATRAS Hub.
Make sure you have the Preview checkbox checked so the camera feed appears in the main window.
Some corners may appear too dim which is not a problem at this point.
Define the detection area - part of the screen where the laser will be tracked.
Click Detection area
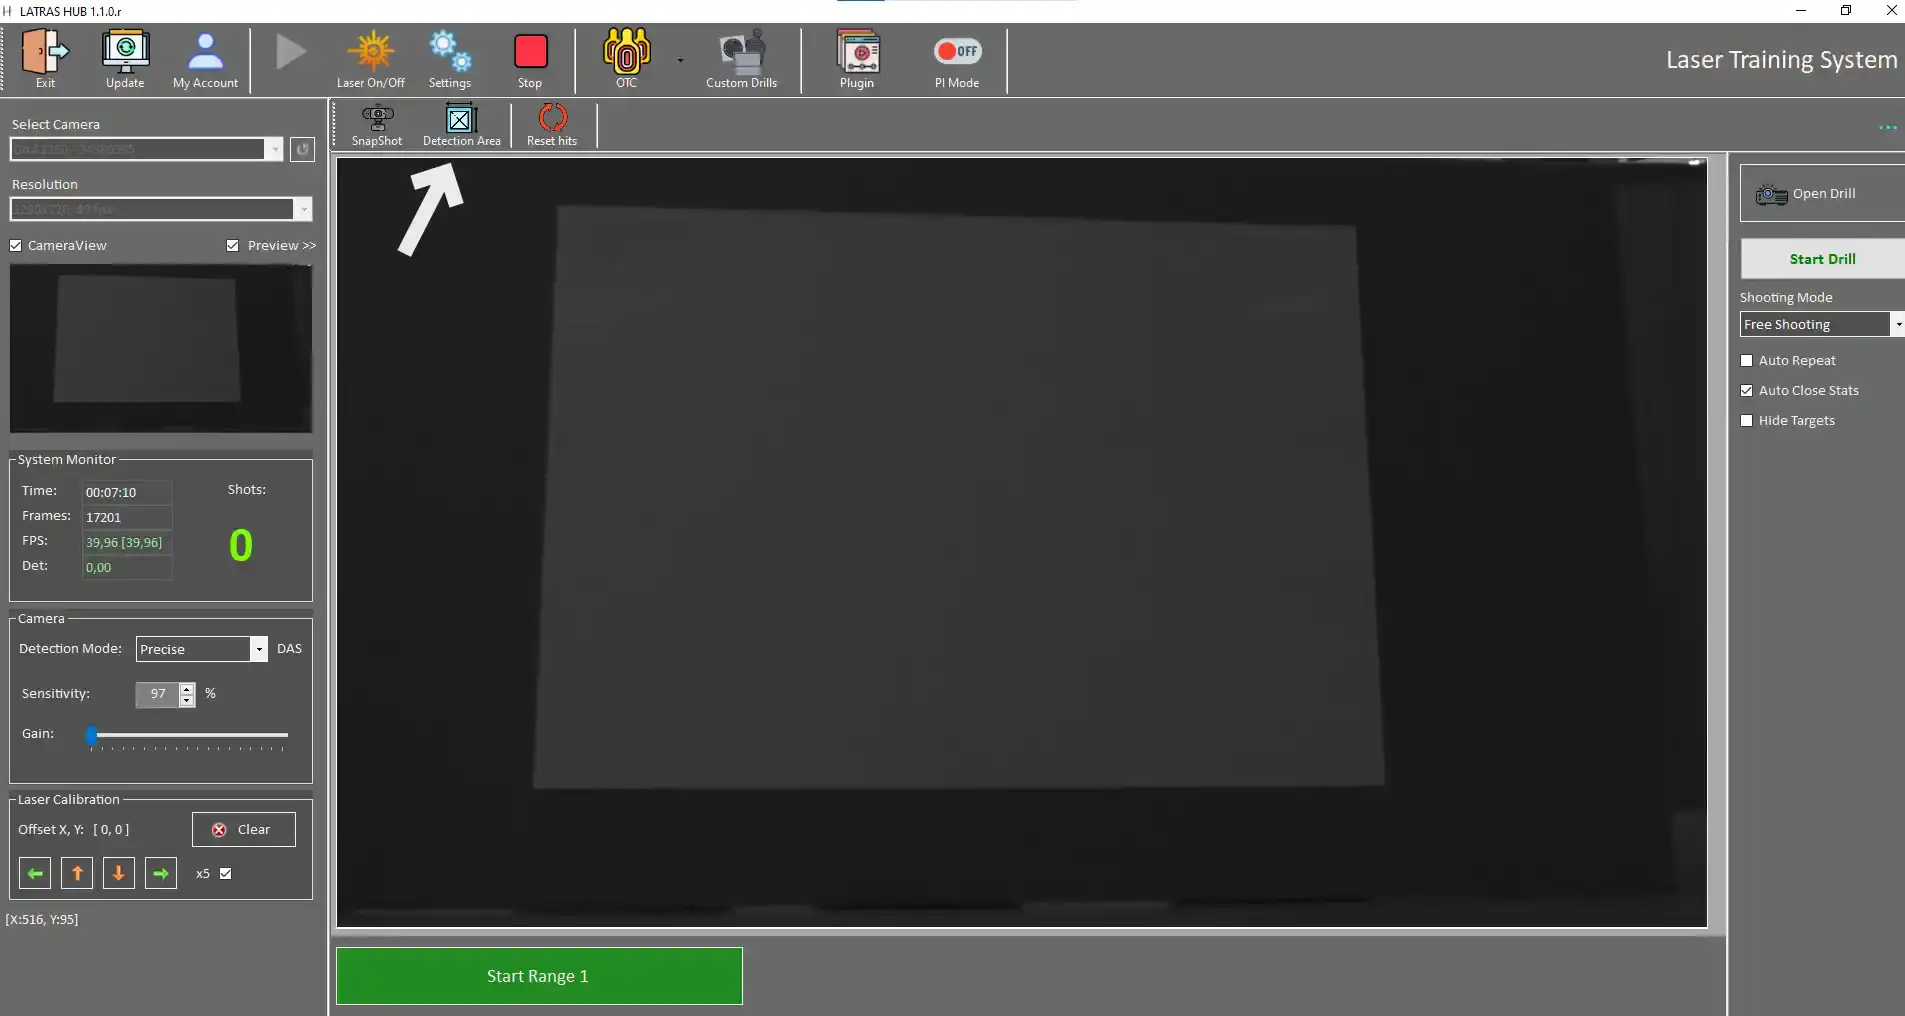
New window with following buttons appears:
Snapshot - captures current camera view.
Highlight - provides more contrast between the projection and the background.
Set Detection Area - defines the desired detection area by clicking its corners
Clear - deletes current detection area
Close - returns to the LATRAS Hub main window
Camera Gain - adjusts brightness
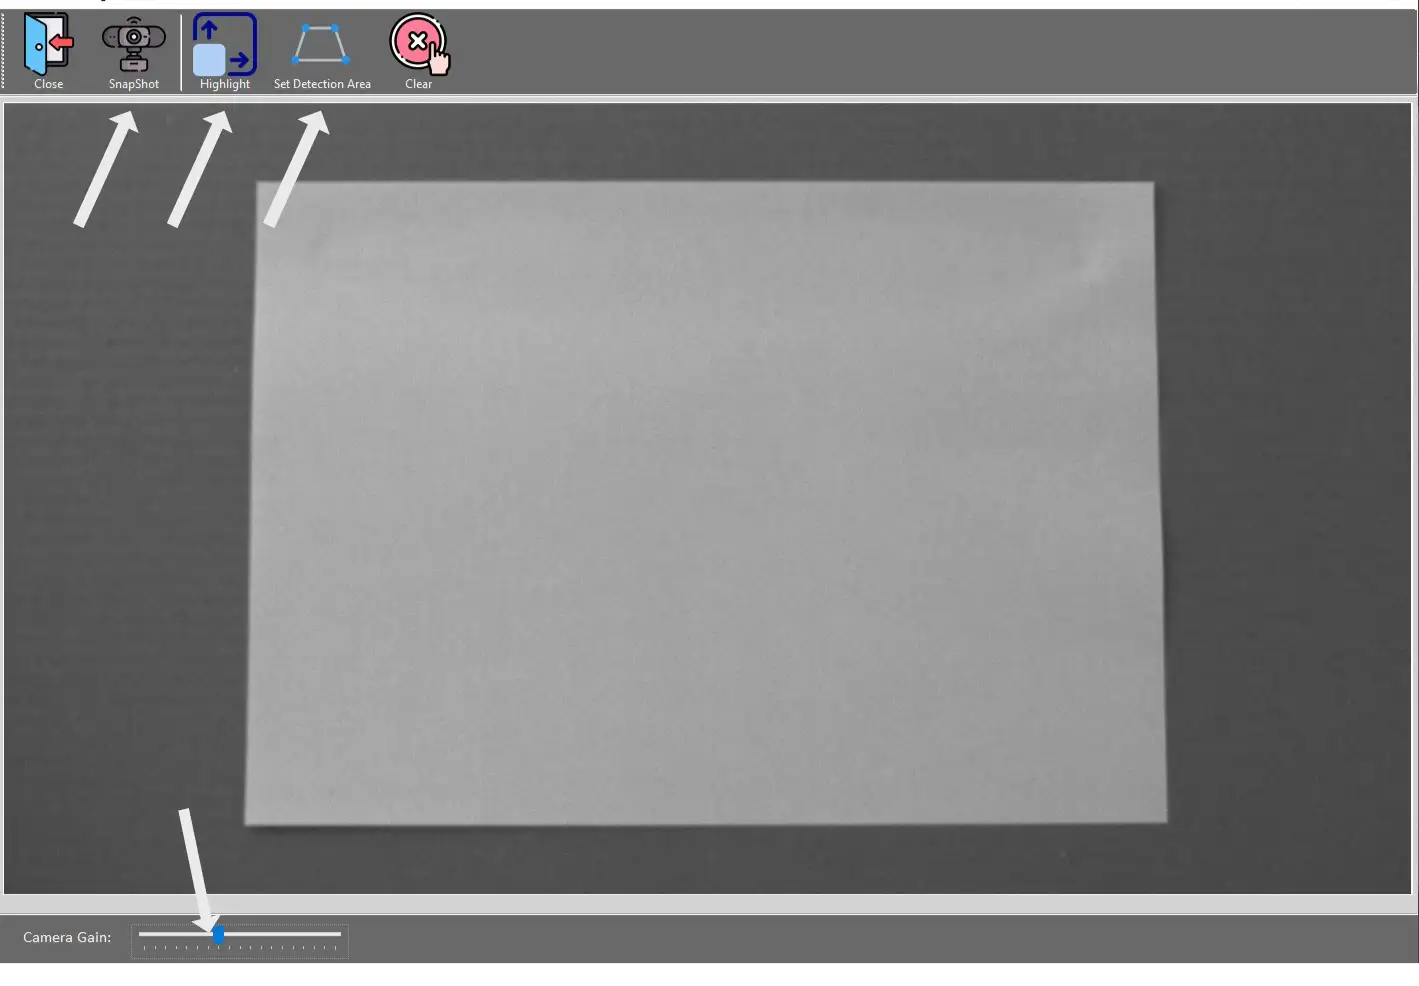
When the projcted area is clearly visible,
hit Set Detection Area button and click at all four corners of the projection border.
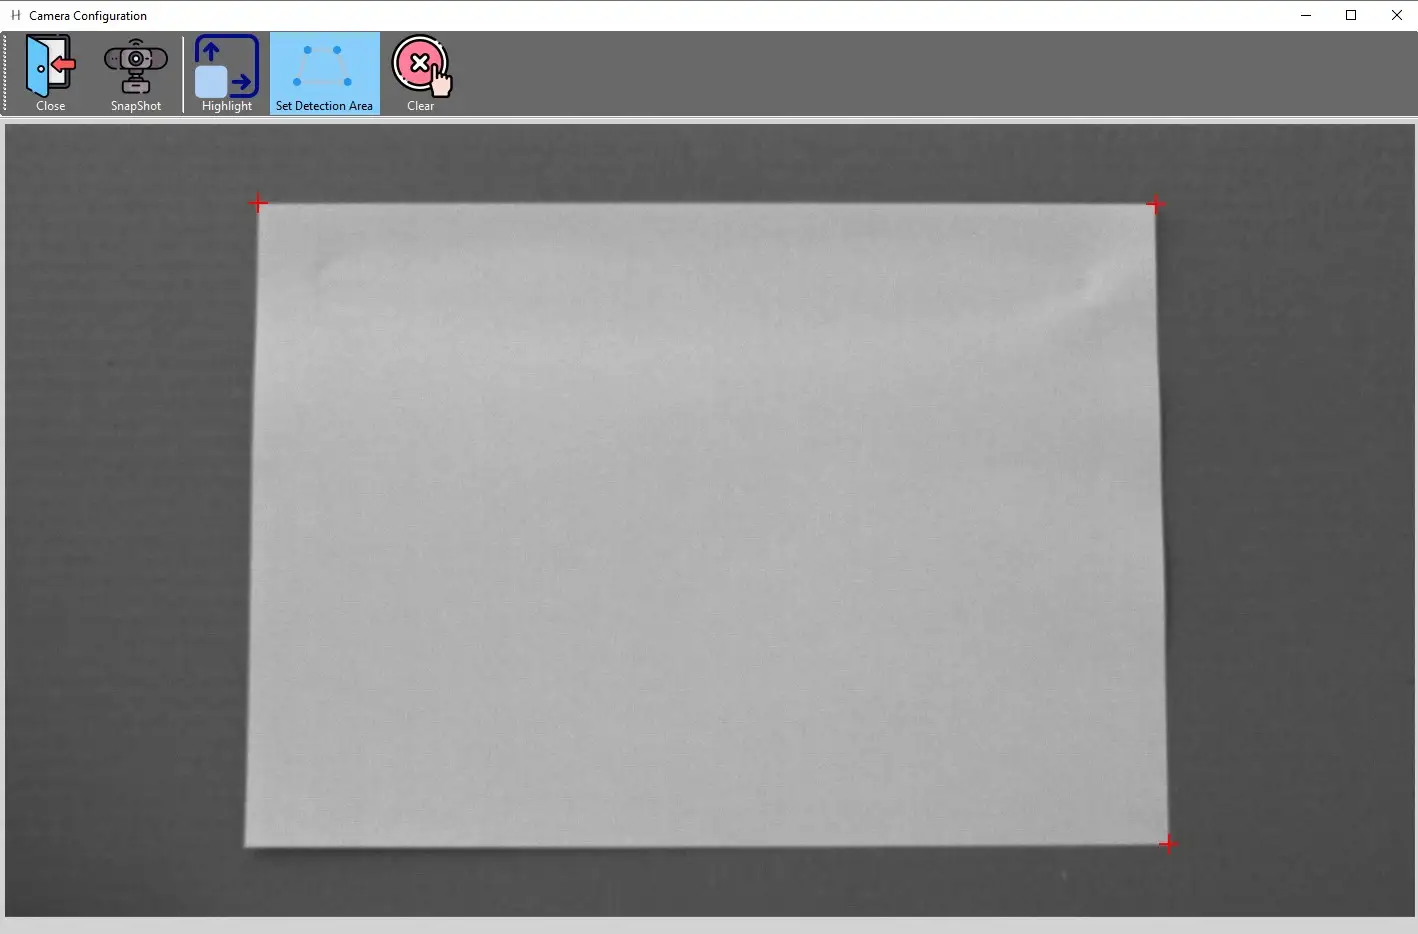
The rectangular detection area will automatically close after hitting the fourth corner and the background turns light blue.
When done, hit Close, go back to the main window, your detection area is set.
When the projected area isn't clearly visible
use the Highlight button. which will provide more contrast for easier detection area selection.
If the highlight appears on a different screen than the projecton is on, go back to the main page, to Settings, and change the Projection to a preferred setting.
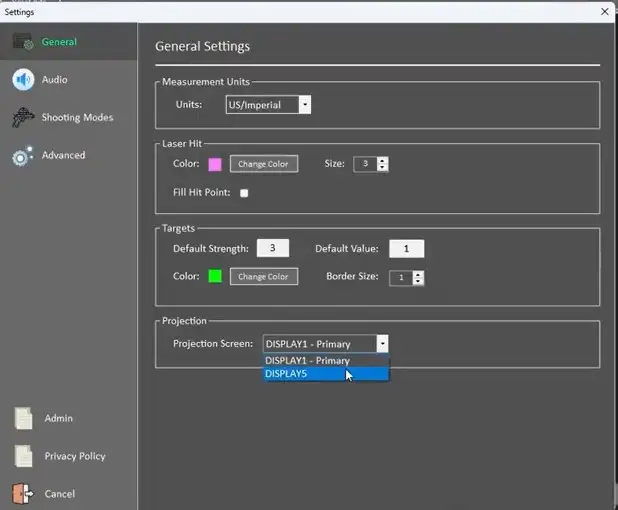
When the Projection Screen is correct, in your main LATRAS Hub window appears highlighted detection area:
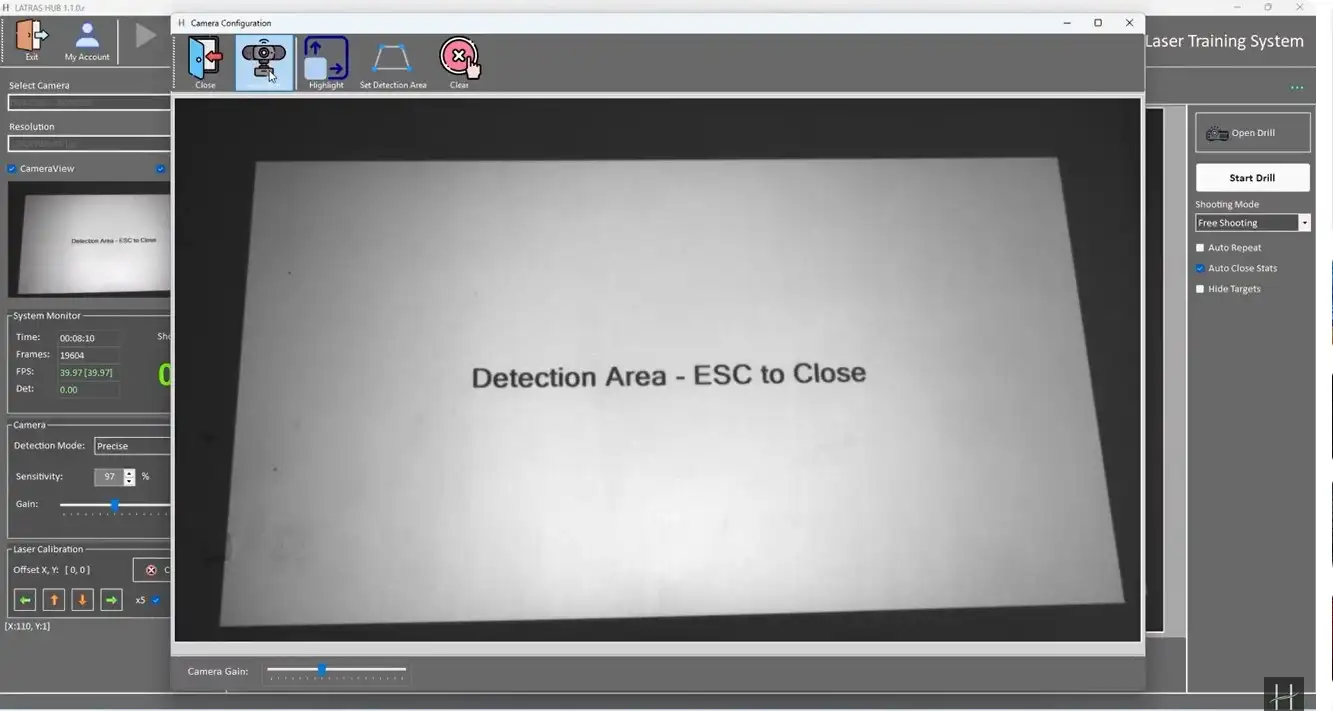
Now, it is time to select the Set Detection Area and click at each of the corners of the highlighted projection.
The rectangular detection area will automatically close after hitting the fourth corner and the background turns light blue.
When done, hit Close, go back to the main window, your detection area is set.
Selecting the Detection Area in Range1
The Detection area can also be selected directly in Range1 plug-in.
Hit the Calibration button
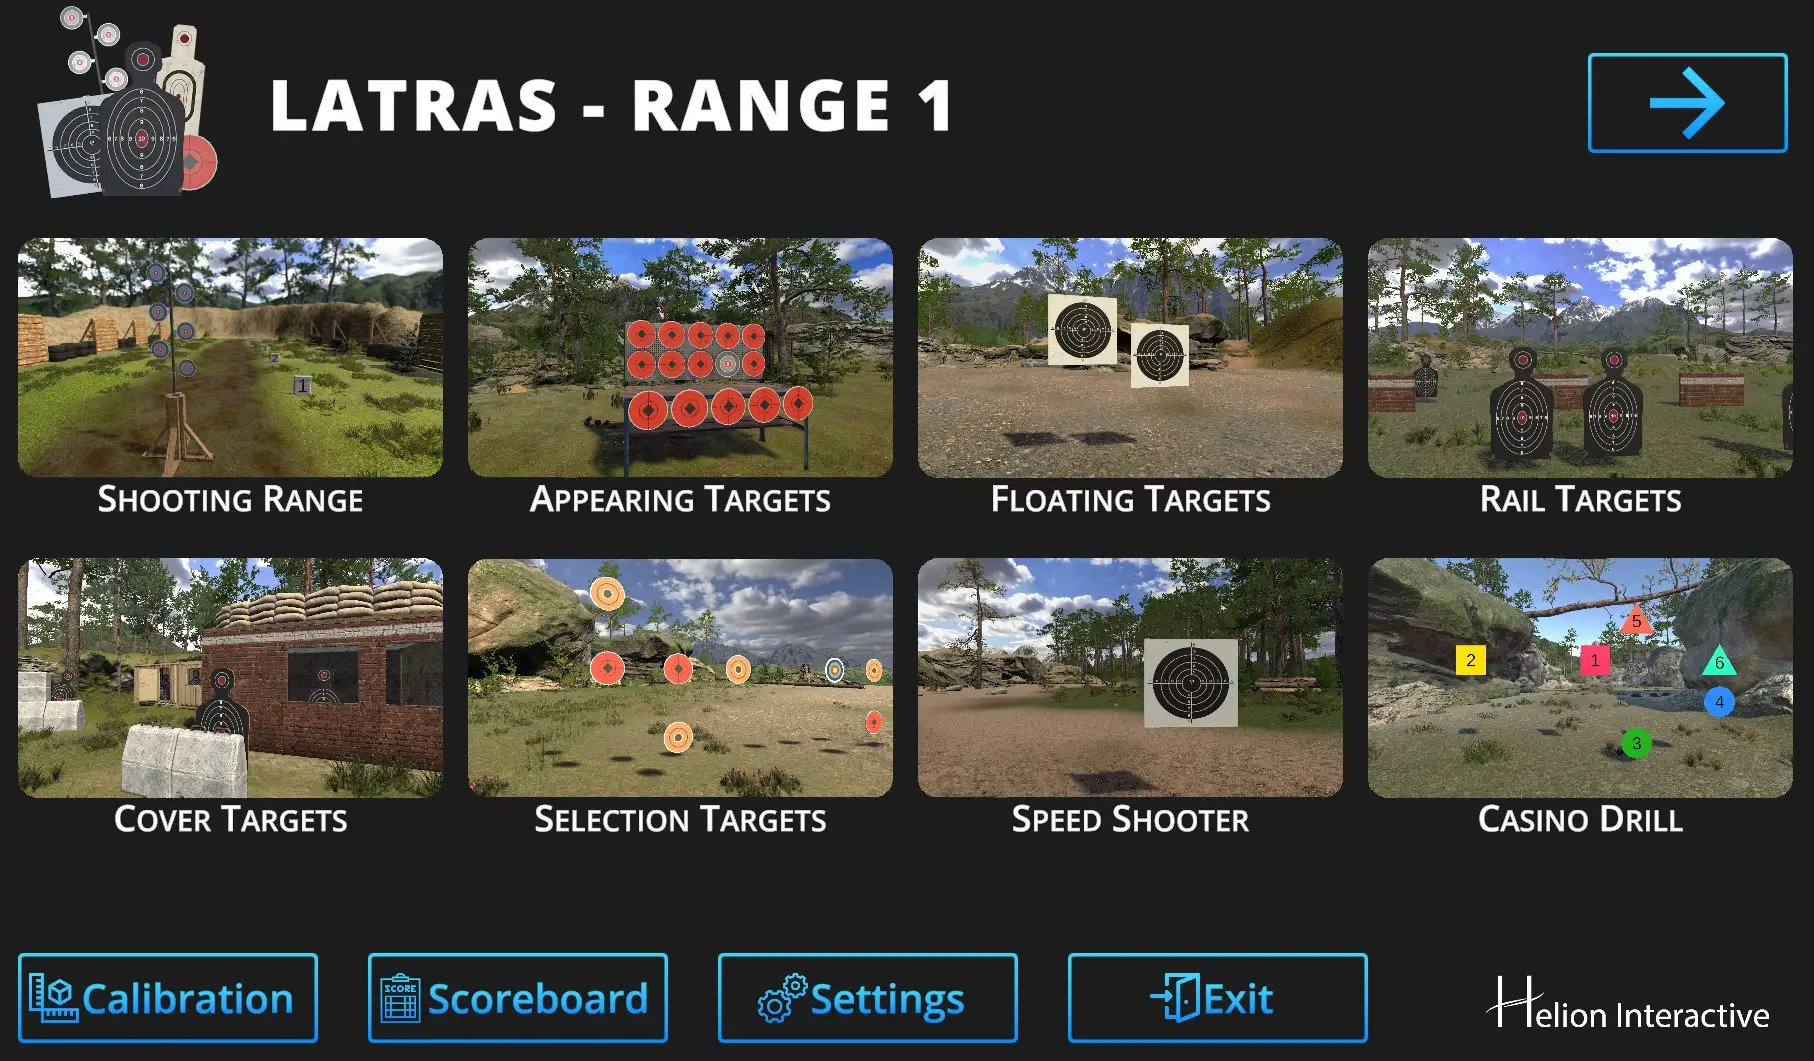
Follow with the Detection Area button:
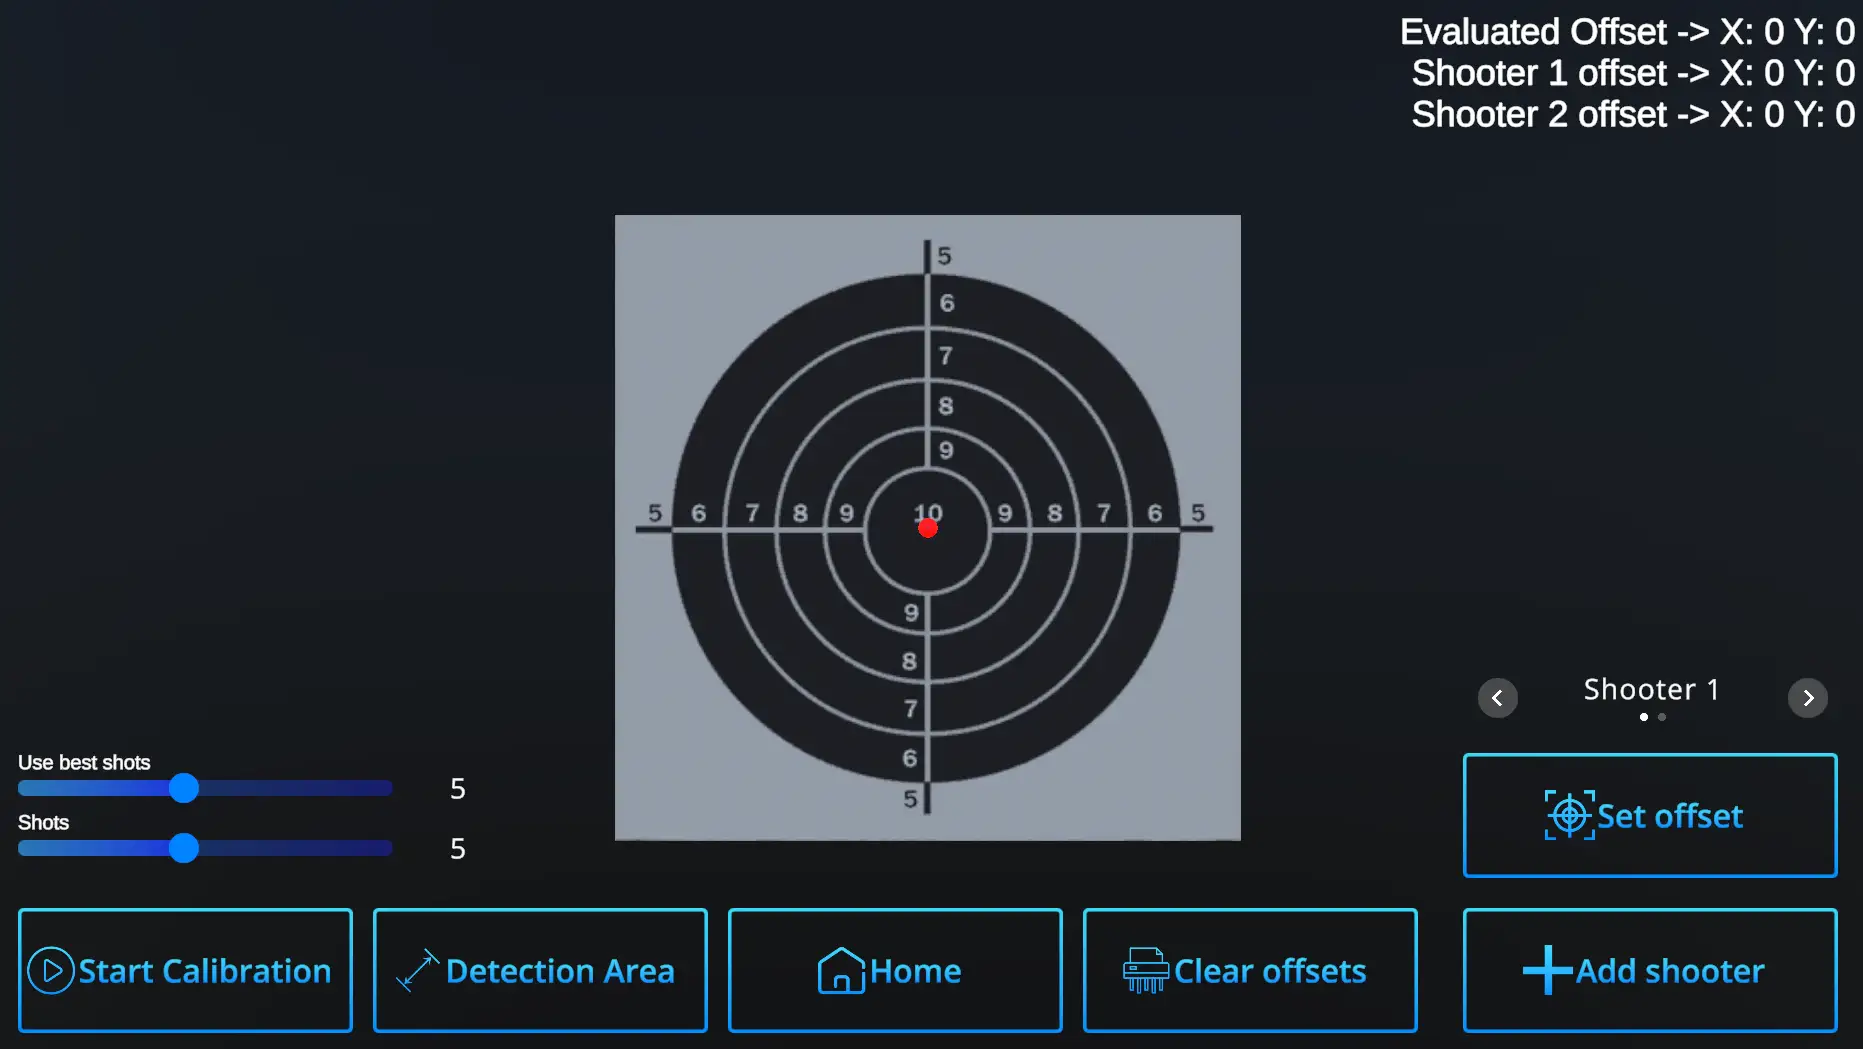
For best visibility, you may need to temporarily remove the optical filter.
Snapshot - captures current camera view.
Highlight - provides more contrast between the projection and the background.
Set Detection Area - defines the desired detection area by clicking its corners
Clear - deletes current detection area
Close - returns to the LATRAS Hub main window
Camera Gain - adjusts brightness
When the projcted area is clearly visible,
hit Set Detection Area button and click at all four corners of the projection border.
The rectangular detection area will automatically close after hitting the fourth corner and the background turns light blue.
When done, hit Close, go back to the main window, your detection area is set.
When the projected are isn't clearly visible
use the Highlight button. which will provide more contrast for easier detection area selection.
If the highlight appears on a different screen than the projecton is on, go back to the main page, to Settings, and change the Projection to a preferred setting.
When the Projection Screen is correct, in your main LATRAS Hub window appears highlighted detection area:
Now, it is time to select the Set Detection Area and click at each of the corners of the highlighted projection.
The rectangular detection area will automatically close after hitting the fourth corner and the background turns light blue.
When done, hit Close. Your detection area is set.
Laser Detection Activation
Prior to laser detection activation, make sure the optical filter is in place.
Optical filters suplied with LATRAS are suitable for InfraRed laser detection.
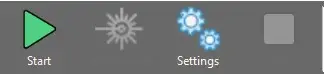
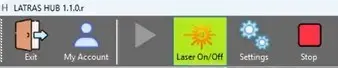
To activate the laser detection, hit Laser ON/OFF button. When ON, it will be highlighted in yellow and the laser will be detected within the previously selected detection area.
If the detection doesn't work properly, try fine tuning the Gain, or check your camera's frame rate lin LATRAS Hub under Camera View:
Most common problems:
Hits are not detected or only some are - increase the Gain
Hits appear much lower than they should be - increase Gain
There are False hits or two hits per one shot - decrease Gain