Only the image size of 16:9 (width:height) ratio is supported.
When background image is selected, contiue with the **Targets** button. [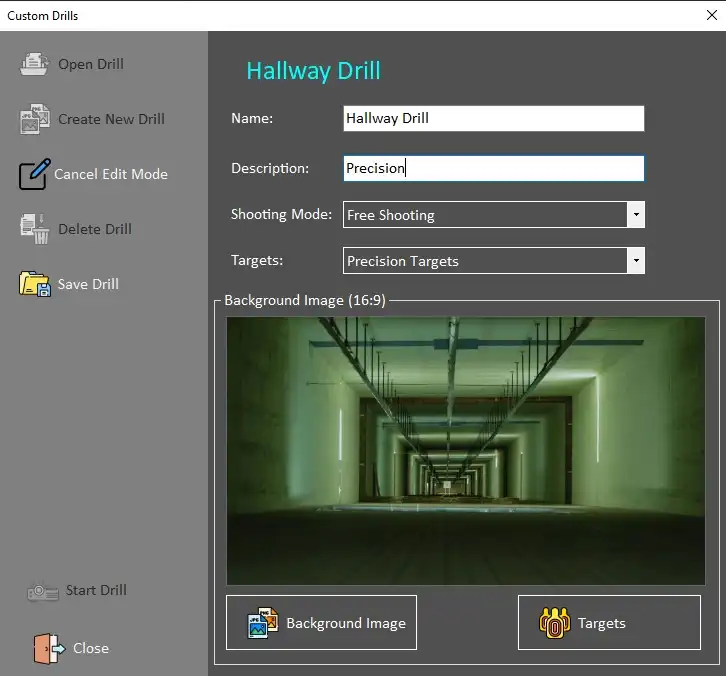](https://docs.helioninteractive.com/uploads/images/gallery/2025-11/pt-dialog.webp) In the newly opened background enlargement, select **Add Image Target** button and select desired target from - C:\\Program Files\\Helion Interactive\\LATRAS\\Latras-HUB\\Assets\\Targets (or other location that has been selected while installing LATRAS Hub) - any custom target image [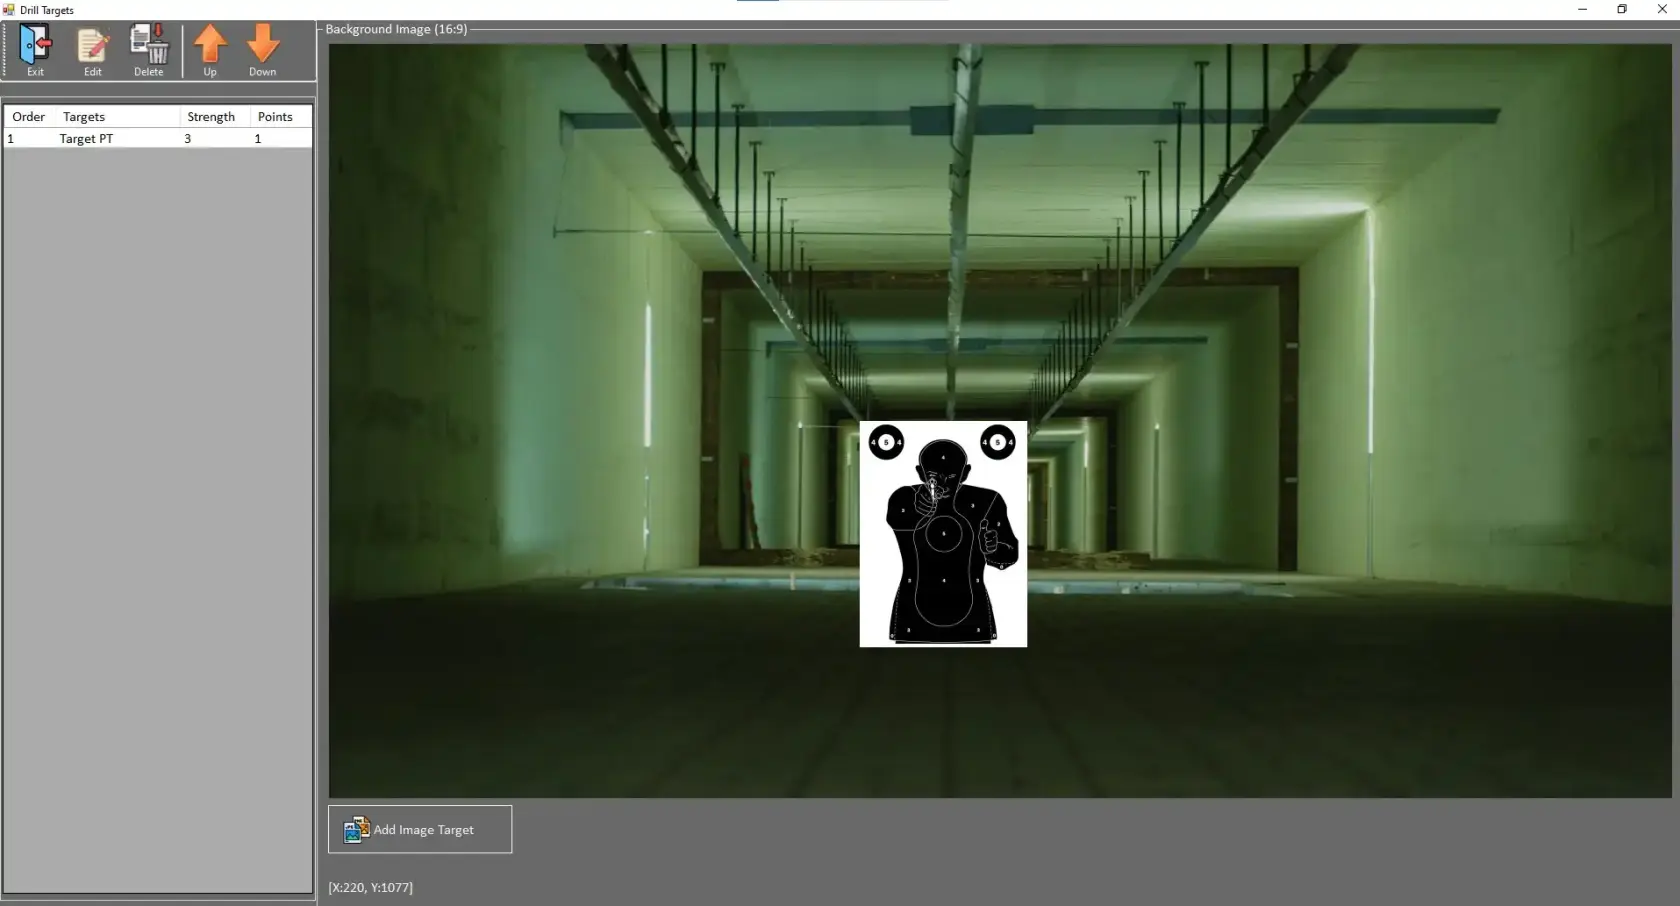](https://docs.helioninteractive.com/uploads/images/gallery/2025-11/pt-targetin.webp) The selected target is placed into the background image by simply clicking to anywhere in the background and then sliding the image with a mouse to a desired location. To Edit the properties of the target, click on the Target's description line in the left banner and select the **Edit** button.| [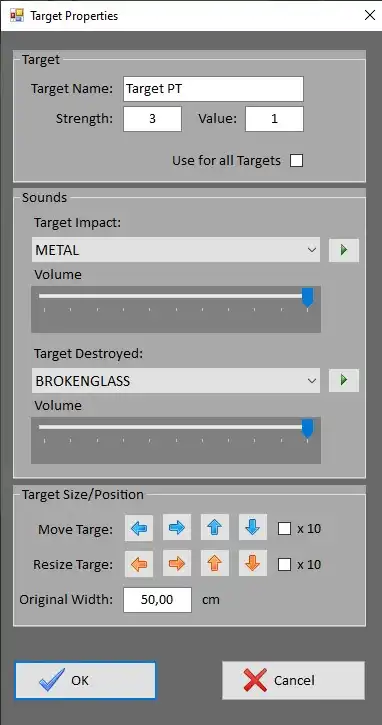](https://docs.helioninteractive.com/uploads/images/gallery/2025-11/pt-targetpropties.webp) | Custom name can be typed in. Strength - number of hits before elimination of the target Value - number of points awarded for selected target area Use for all targets - sets this Strength and Value for all targets defined in this drill Target Impact - sound of the impact when the area is hit Volume - position the slider as desired, max is on the right Target Destroyed - sound of the last impact when the target is destroyed (Strength= 3 --> 3rd hit) Volume - position the slider as desired, max is on the right Target Size/Position Move Target - for more precise positioning - arrows move selected target in either direction in small increments (or 10x bigger when the checkbox is selected) Resize Target - scales target in small increments, available for rectangular and circular areas only Original width - fill in the width of the Target in the real world. The system will work with this dimension and scale it according to the distance in the scene. Hit OK when finished. |
**Proceed with Save Drill.**
**Start the drill by clicking Start Drill.**
The drill can also be started from the main screen. The control over the drill is located in the right hand side toolbar on the main page of LATRAS Hub. The distance of the target can be adjusted by scrolling the mouse. The information about the current distance is displayed in the left hand corner of the drill.