After installation, make sure your computer runs through restart prior to first start.
##### First Start Double click on the **Latras.exe** file. Once loaded, message about missing licence appears. Click Close and then go to folder My account which is located in the upper left corner of the application. [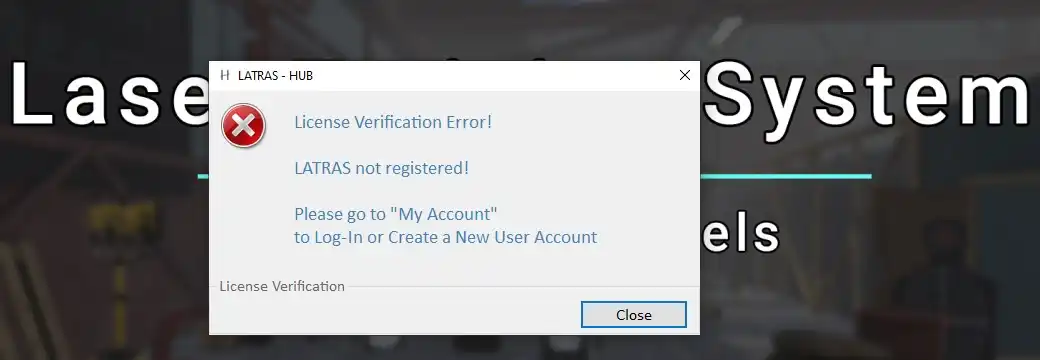](https://docs.helioninteractive.com/uploads/images/gallery/2025-11/latras-missinglicence1.webp) Click close and continue to My account (located in the upper left corner of the screen). [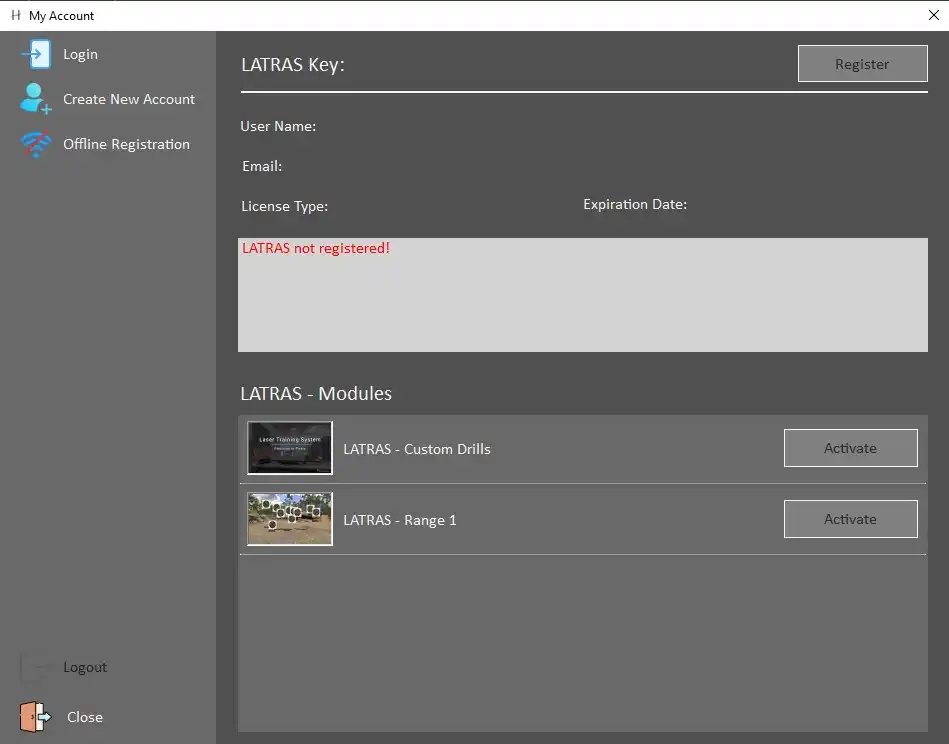](https://docs.helioninteractive.com/uploads/images/gallery/2025-11/latras-myaccount.webp) Available options are: **Login** - to be used for existing Helion Interactive account. **Create New Account** - in case no account has been set up yet. Required information is UserName, email, and a password. After filling in the information, proceed with Create Account button. An automated verification email with a unique code will be sent to your email address. Enter the code and click Verify.In case you haven't received the email within a few minutes, try Send New Code button. If the code doesn't come, or troubles with the verification persist, email to [info@helioninteractive](mailto:info@helioninteractive) for help.
After sucessfull verification, leave the My account window to see the main page Latras Hub. It is now possible to download the Range 1 plug-in. Click the Plug-in button. [](https://docs.helioninteractive.com/uploads/images/gallery/2025-11/latras-plugin.webp) In the newly opened dialog, click Install. [](https://docs.helioninteractive.com/uploads/images/gallery/2025-11/latras-install.webp) Then select Install Module. It will automatically download and install the latest version of Range 1. [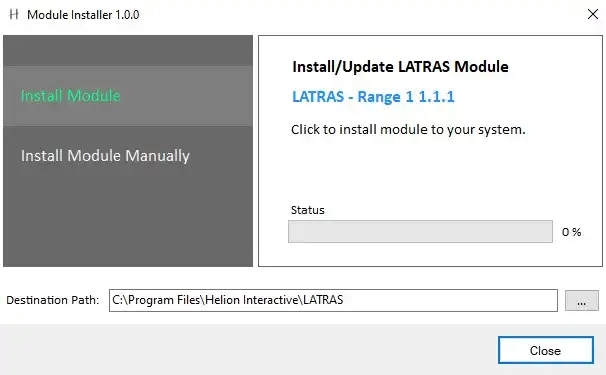](https://docs.helioninteractive.com/uploads/images/gallery/2025-11/latras-instalmodule.webp)Install Module Manually is suited for locating an existing installation or troubleshooting.
After its installation, Range 1 is available in Demo mode. For full use, the licence must be activated in My Account folder. [](https://docs.helioninteractive.com/uploads/images/gallery/2025-11/latras-demo.webp) For full activation of the Range 1 module, go to the main page and select My Account. ##### Licence Activation Select **Acivate,** enter your Product Key and Verify it. If sucessfully verified, Range 1 can be switched from Demo to full active mode by the Activate button. Last step is to restart LATRAS.