Shooting Range
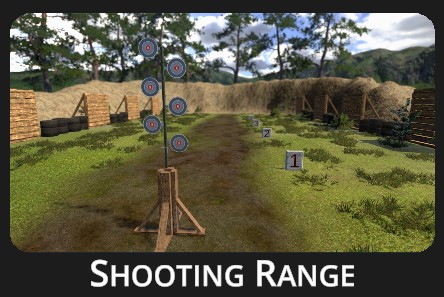
Objective
Ideal for training basic shooting techniques including stance, grip, sight alignment, trigger discipline, precision, and breathing. Features traditional shooting range with variable stationary and movable bullseye and silhouette targets at variable distances.
Configuration dialog appears when the Shooting Range drill is selected:

Distance : How far will the targets appear. The setting on the panel uses values 0-4. Marker 0 is the closest, marker 4 the furthest. The distance can also be dynamically set by scrolling the mouse's middle button.
Shots : Specifies number of shots before shooting is stopped. Number -1 means indefinite shooting. Note that some targets have unlimited shots regardless of indicated value.
Custom target : Enables to load custom target from file
Analysis : See Analysis chapter for detail
Settings icon :
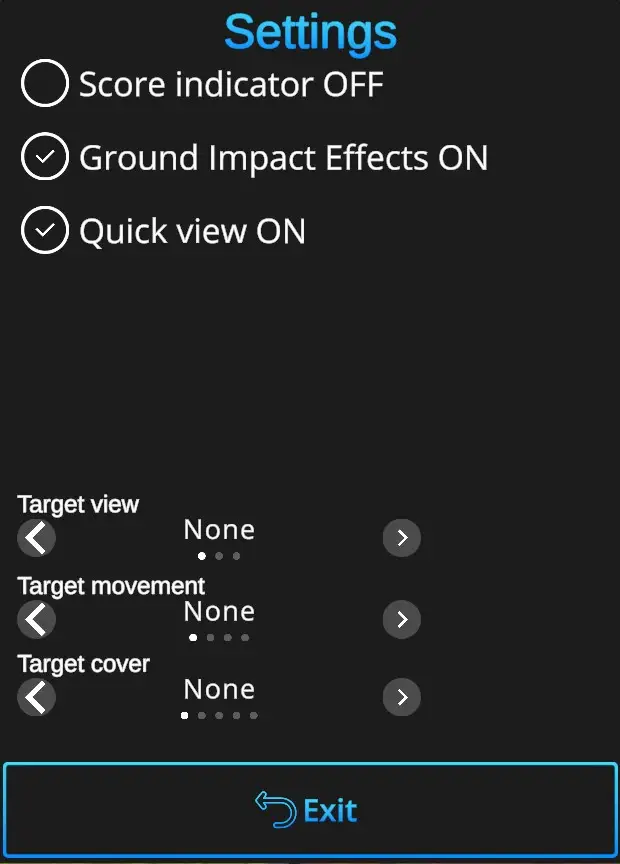
Score indicator ON/OFF : If checked,checked ON, small texts will fly out of targets whenever area with points is hit.
Ground Impact Effects ON/OFF : If checked,checked ON, ground particle fly-out effect will appear at the point of impact.
Quick view ON/OFF : Enables or disables shot count view on top right hand corner.
Target view : Is a magnifier for targets. If targets is far away, hits may not be visible well. Target view is a display that appears on left side of the shooting range showing the target from up close. It has three modes: None – This view is never shown, always – view is always active, Auto – Will be displayed if the target is on the first marker or further away.
Target movement : Some targets can move horizontally. There are three speed modes available.
Target cover : Some targets can be partially hidden when using cover. Available cover modes are quarter, half, bottom of the target and a window around the target.
Default : In one click resets the scene to default Shooting Range setting - 10 shots + silhouette target on a distance marker 2.
Home : Directs back to page with drill selection.
Start : Starts the drill. Note that the drill can also be started with a random shot at the scene. If it doesn't start at a random shot, go to Home page, open the Settings dialog, and check General setting 'Shoot to start' ON.