Selecting the Detection Area in Range1
The Detection area can also be selected directly in Range1 plug-in.
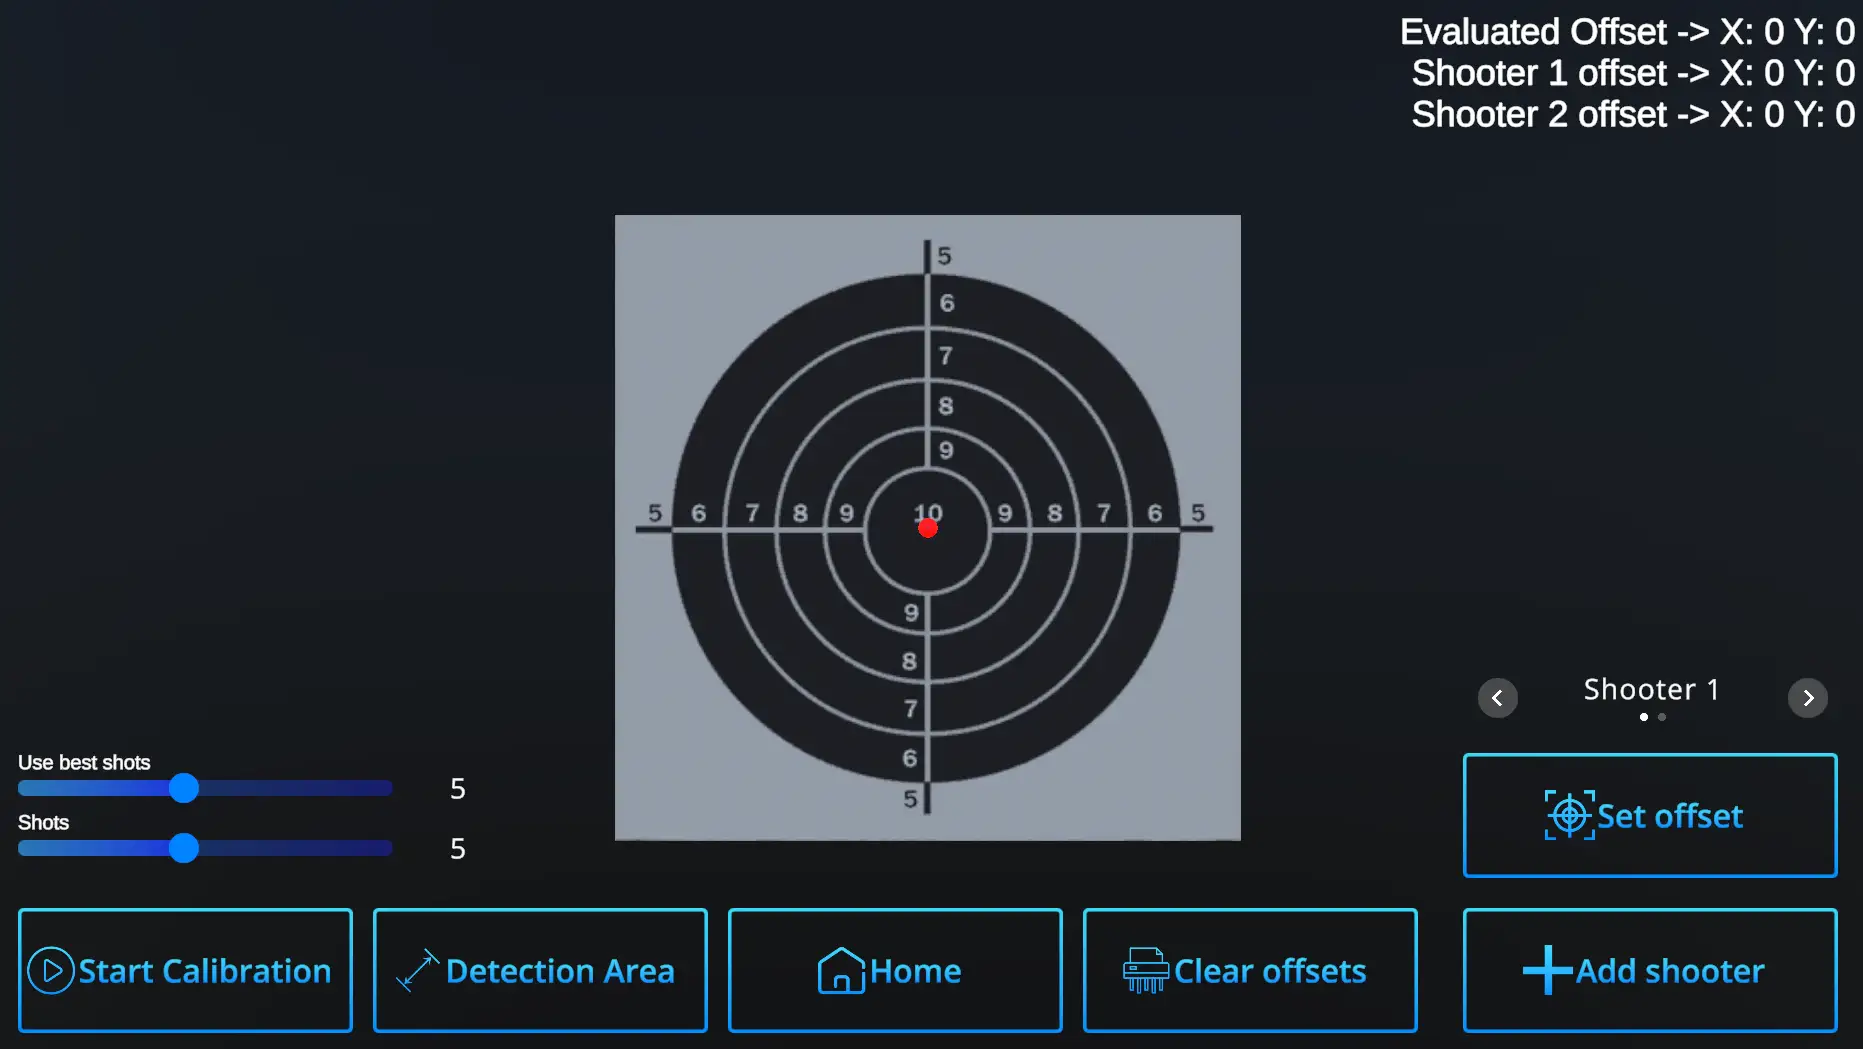
Hit the Calibration button
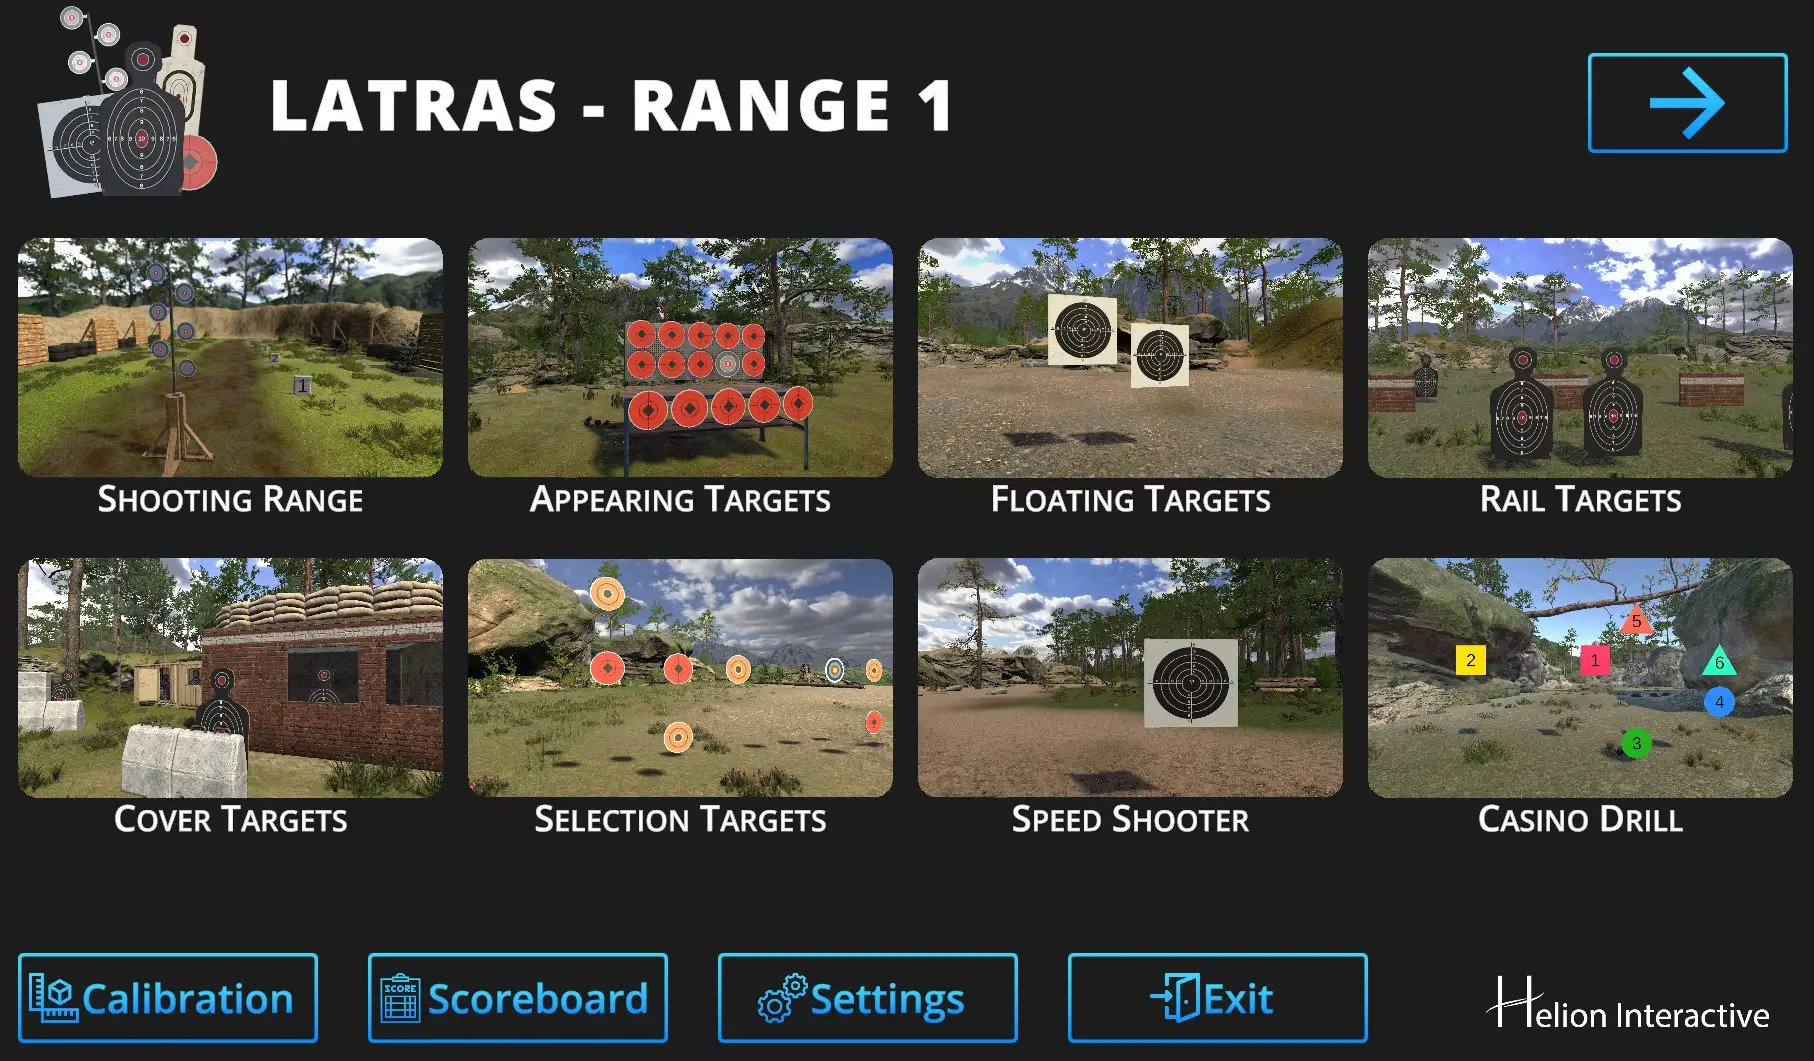
Follow with the Detection Area button:
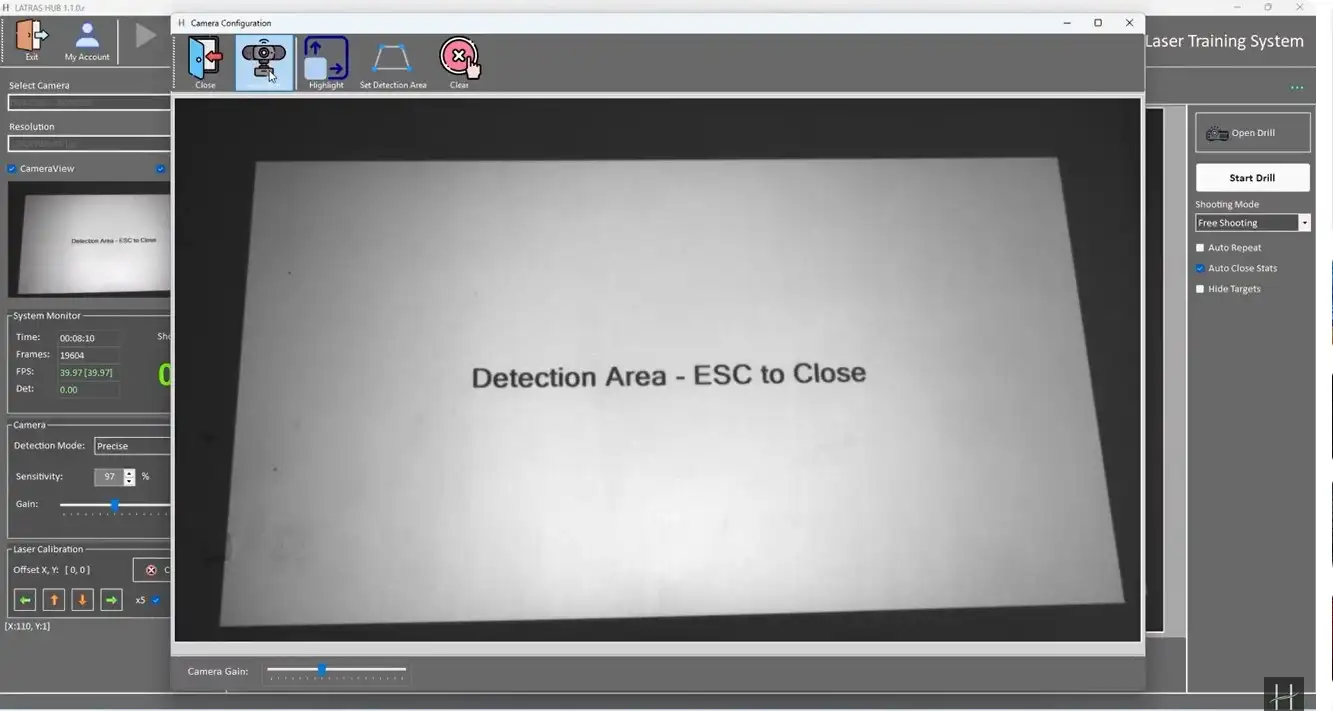
For best visibility, you may need to temporarily remove the optical filter.
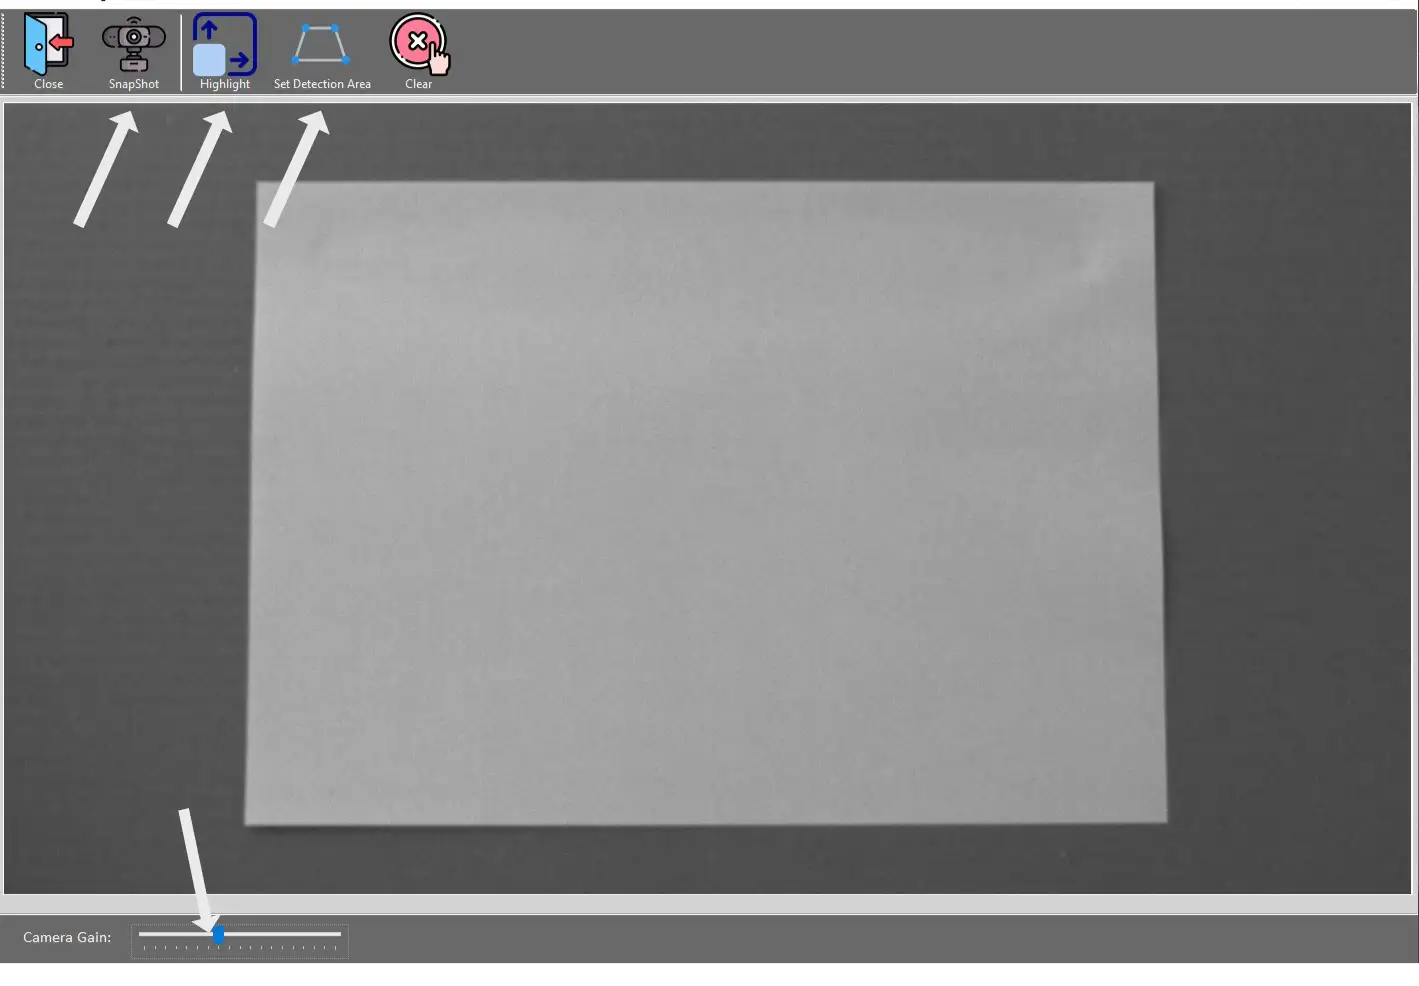
Snapshot - captures current camera view.
Highlight - provides more contrast between the projection and the background.
Set Detection Area - defines the desired detection area by clicking its corners
Clear - deletes current detection area
Close - returns to the LATRAS Hub main window
Camera Gain - adjusts brightness
When the projcted area is clearly visible,
hit Set Detection Area button and click at all four corners of the projection border.
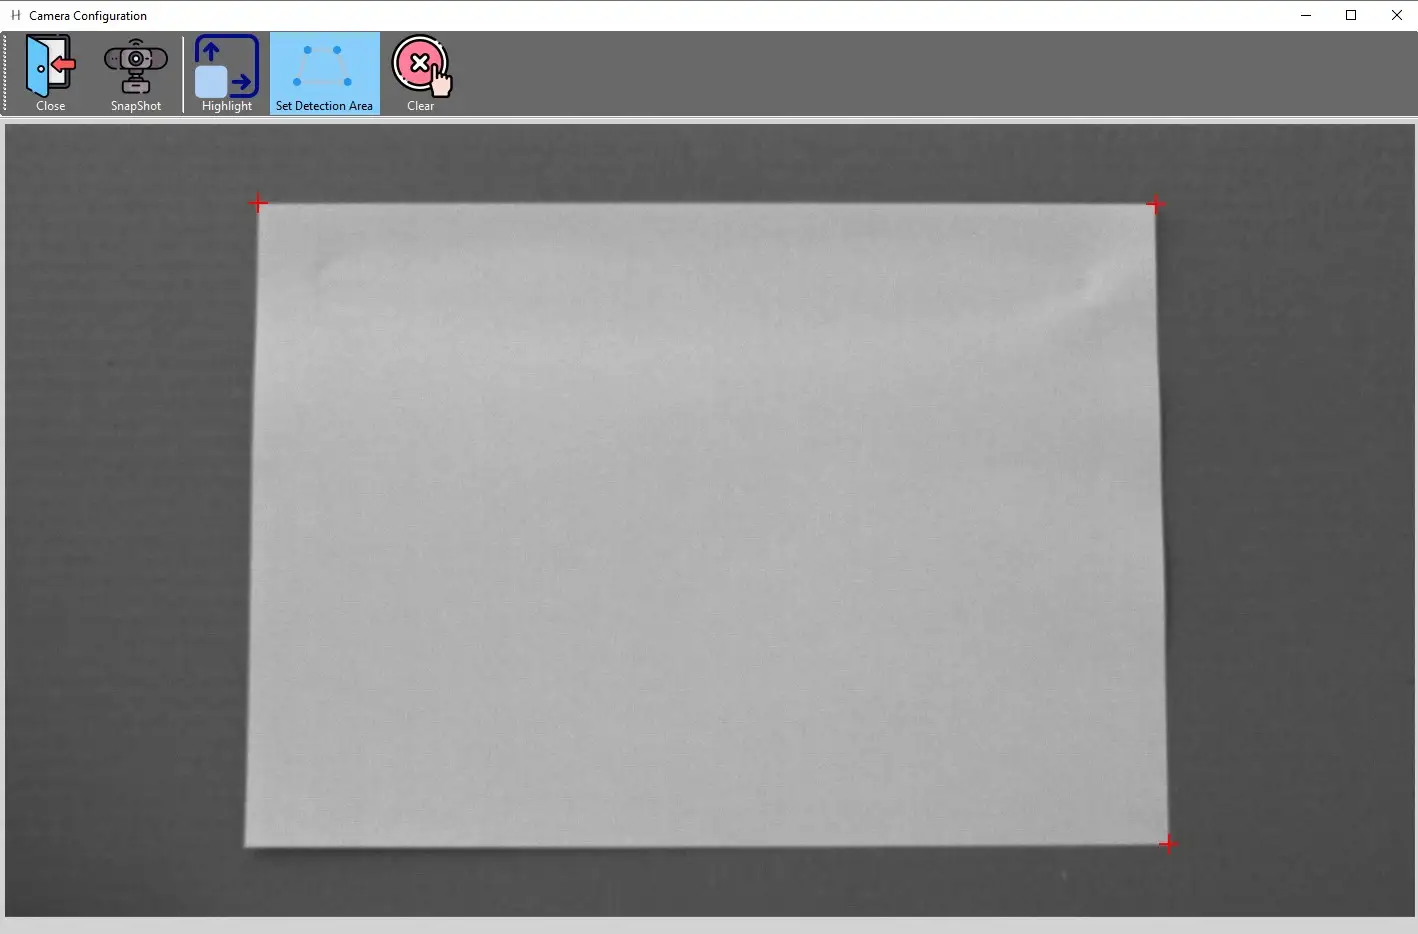
The rectangular detection area will automatically close after hitting the fourth corner and the background turns light blue.
When done, hit Close, go back to the main window, your detection area is set.
When the projected are isn't clearly visible
use the Highlight button. which will provide more contrast for easier detection area selection.
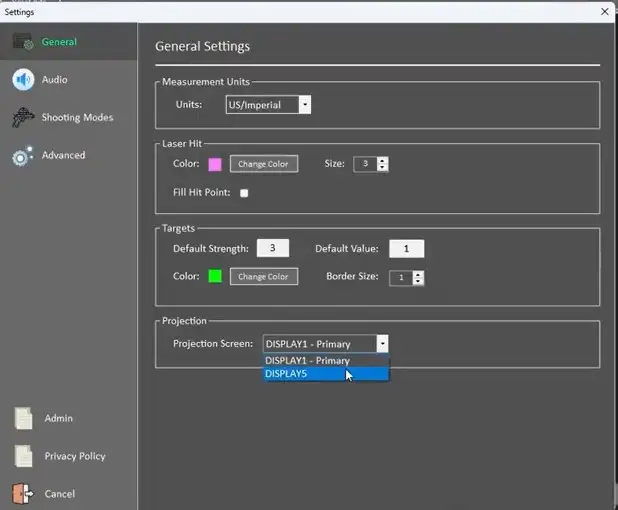
If the highlight appears on a different screen than the projecton is on, go back to the main page, to Settings, and change the Projection to a preferred setting.
When the Projection Screen is correct, in your main LATRAS Hub window appears highlighted detection area:
Now, it is time to select the Set Detection Area and click at each of the corners of the highlighted projection.
The rectangular detection area will automatically close after hitting the fourth corner and the background turns light blue.
When done, hit Close. Your detection area is set.
| Go to Next page |
No comments to display
No comments to display