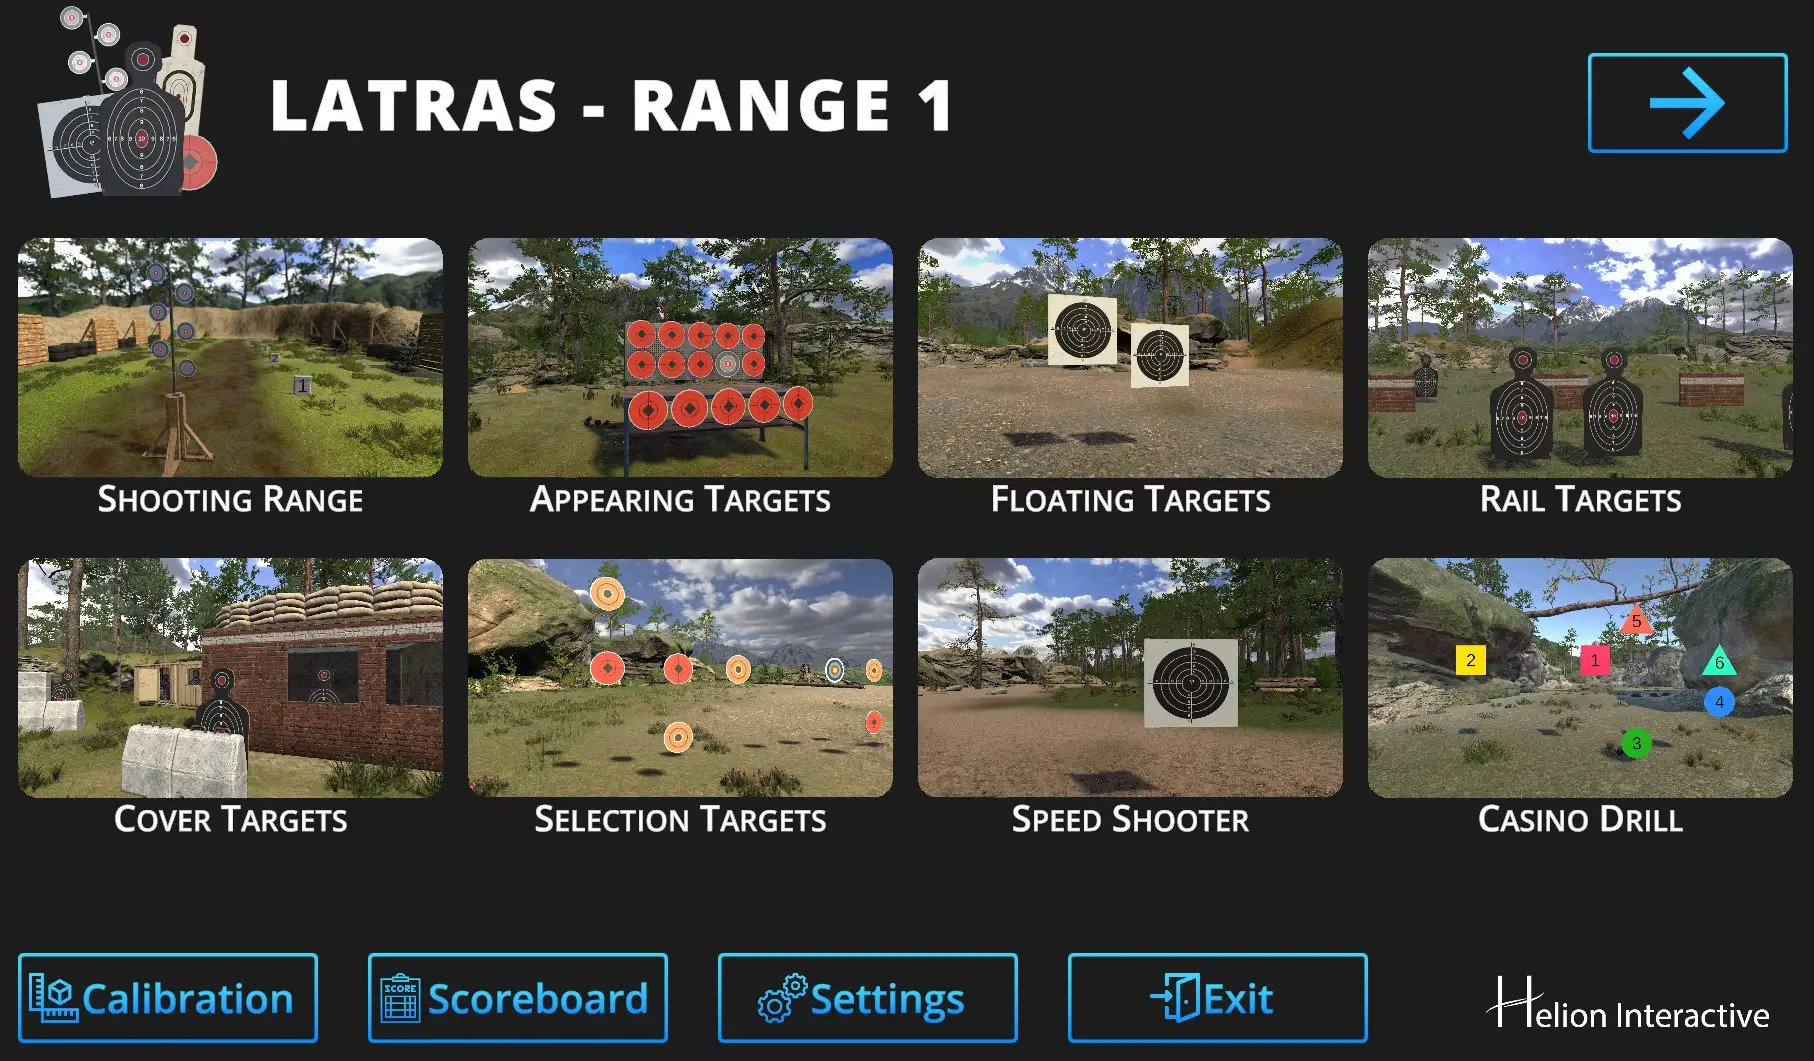
Selecting the Detection Area in Range1
The Detection area can also be selected directly in Range1 plug-in.
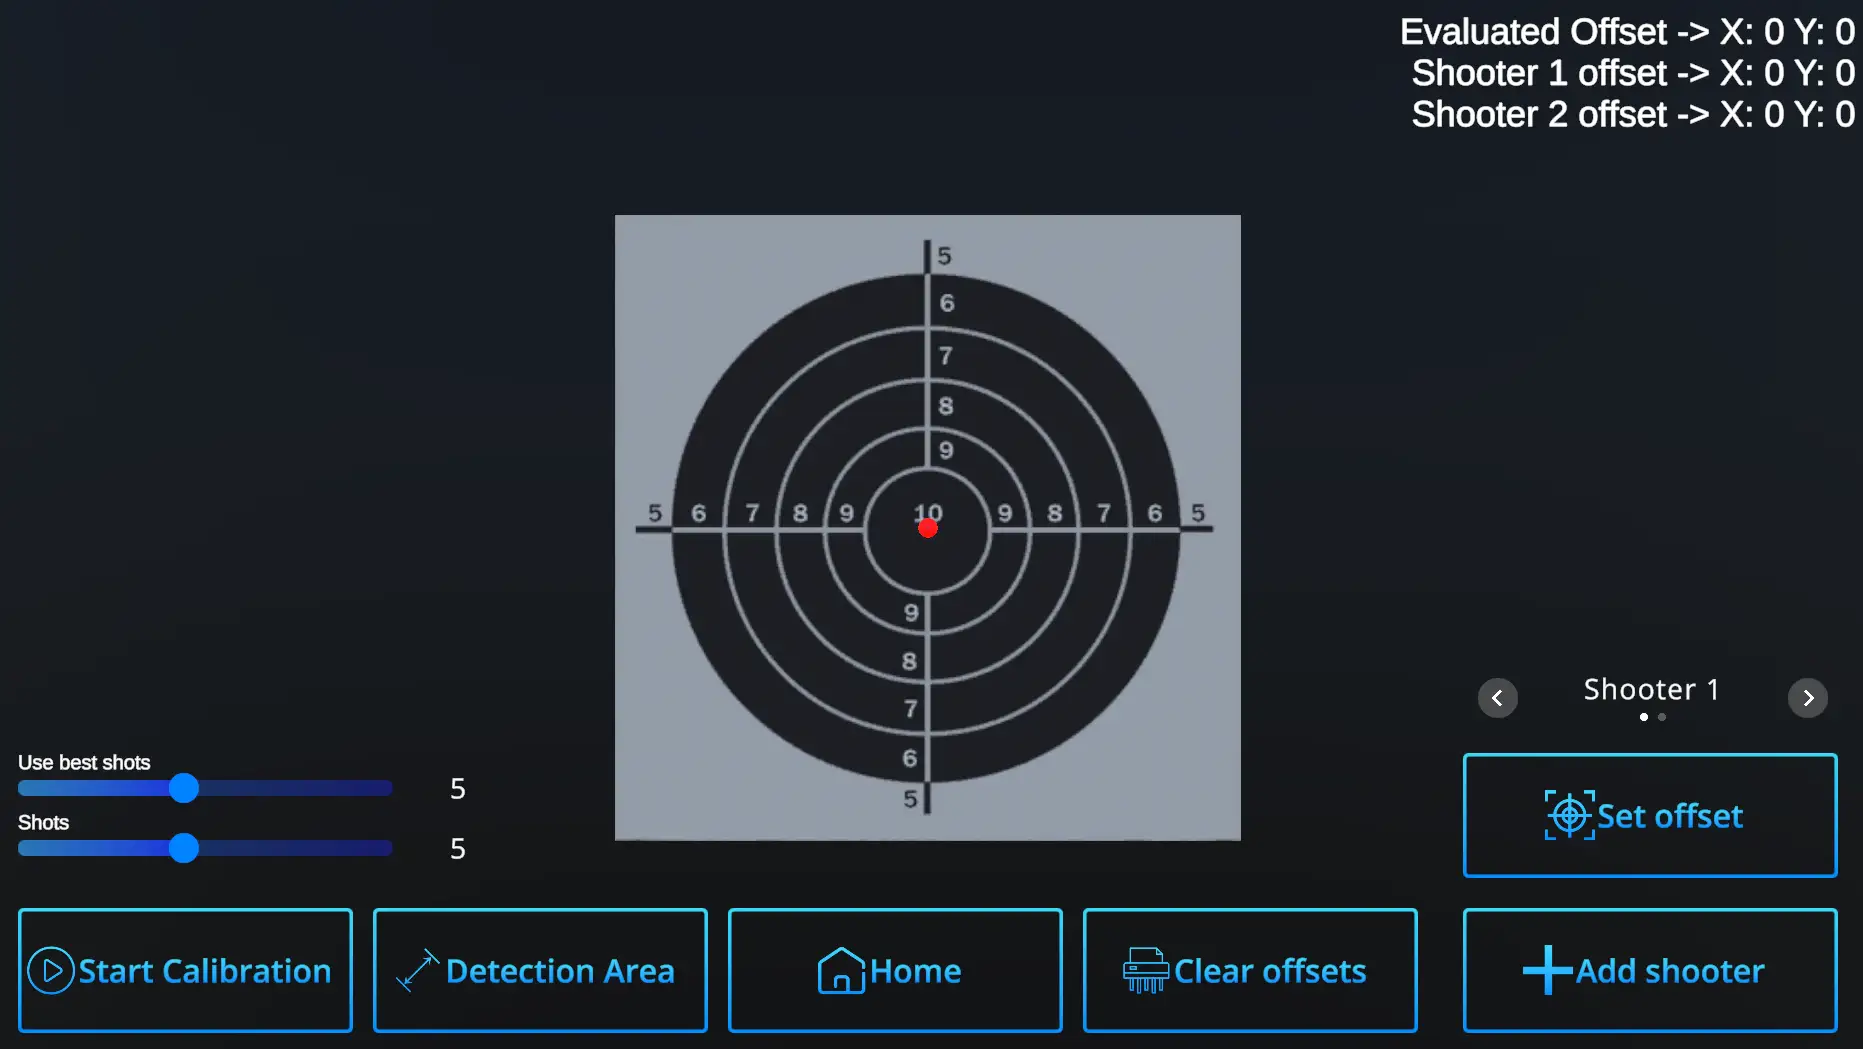
Hit the Calibration button
Follow with the Detection Area button:
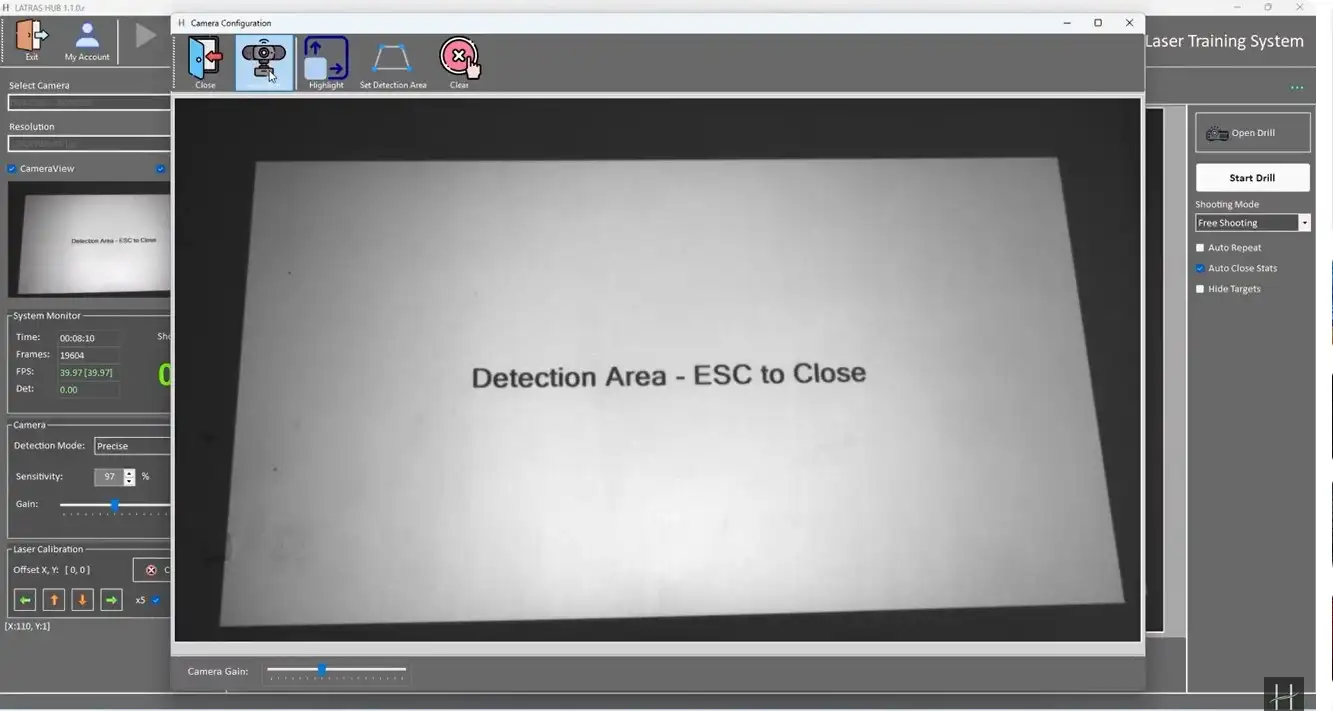
For best visibility, you may need to temporarily remove the optical filter.
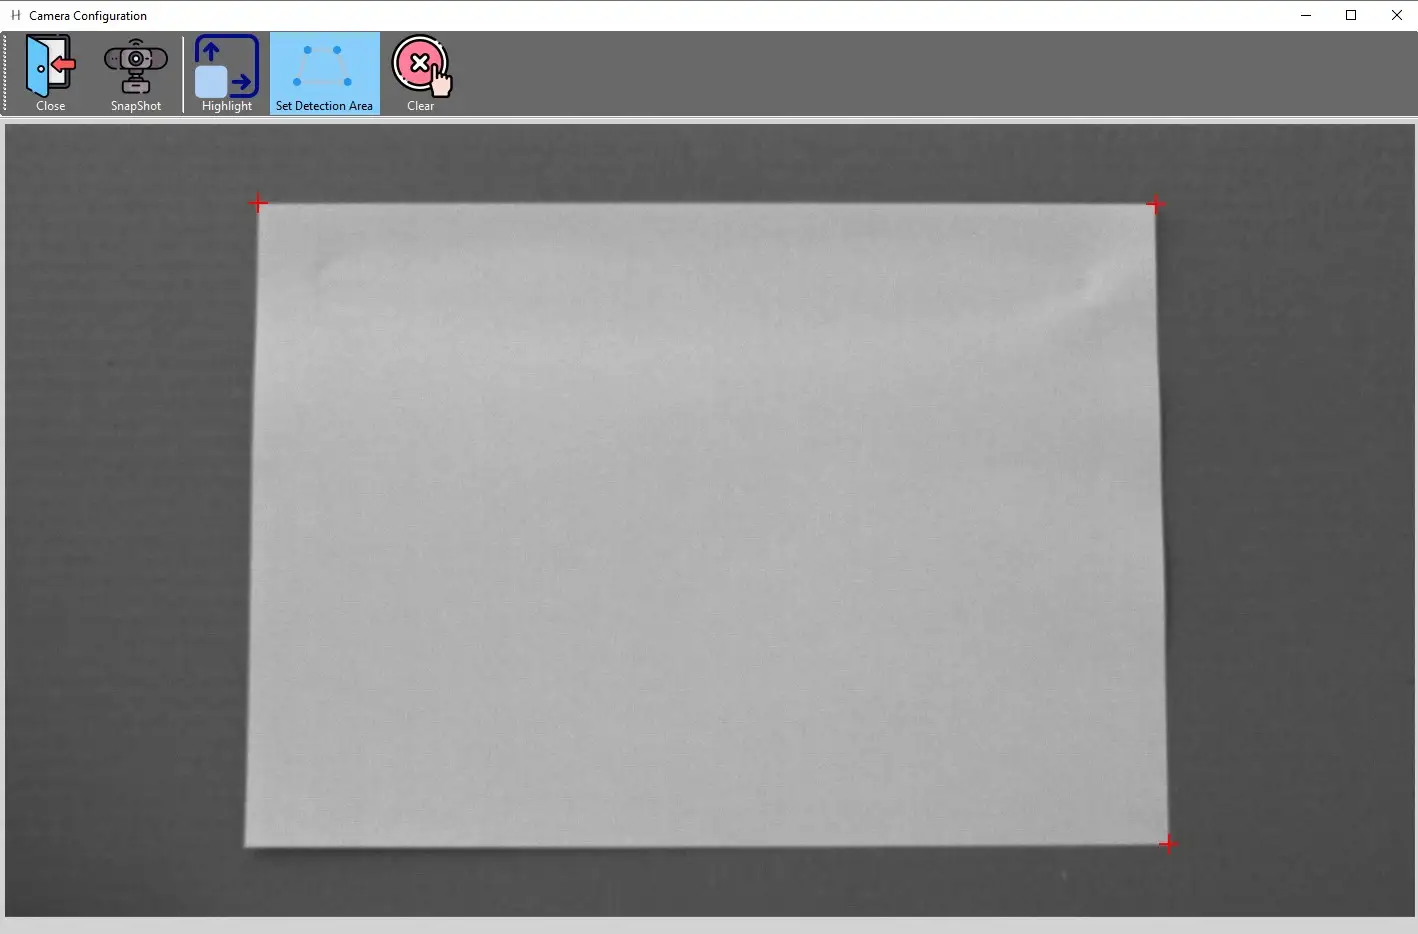
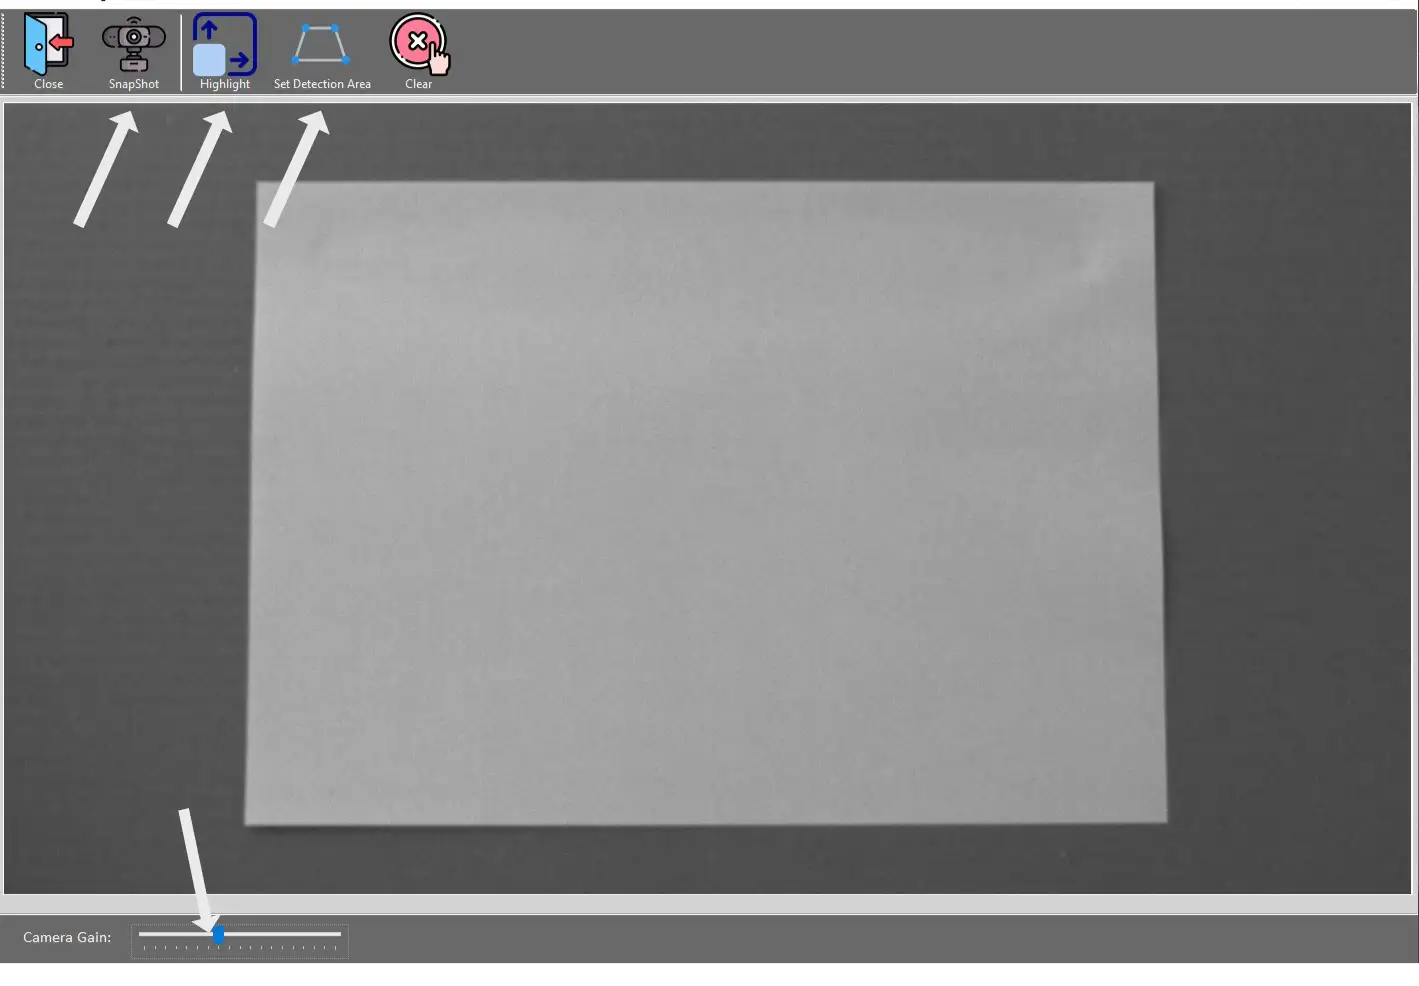
Snapshot - captures current camera view.
Highlight - provides more contrast between the projection and the background.
Set Detection Area - defines the desired detection area by clicking its corners
Clear - deletes current detection area
Close - returns to the LATRAS Hub main window
Camera Gain - adjusts brightness
When the projcted area is clearly visible,
hit Set Detection Area button and click at all four corners of the projection border.